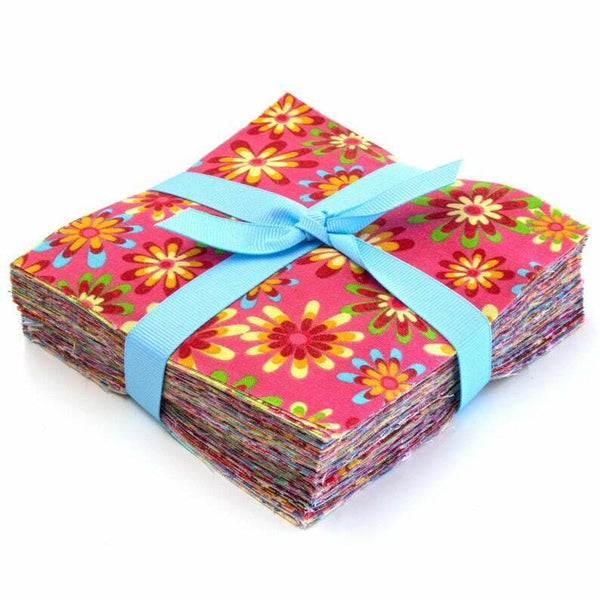
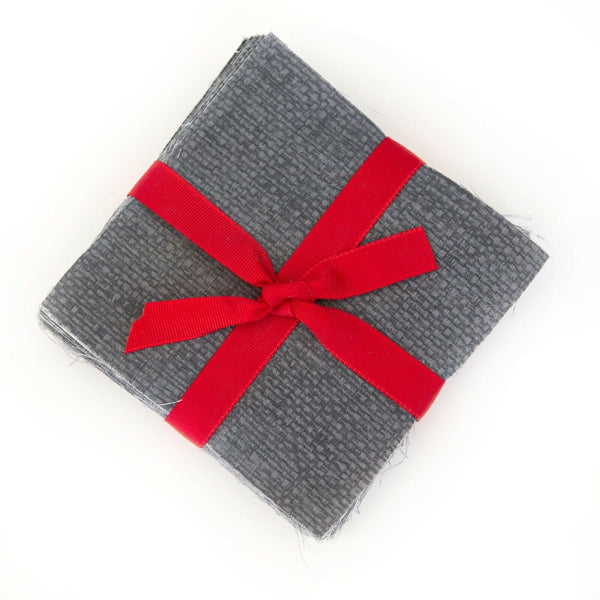
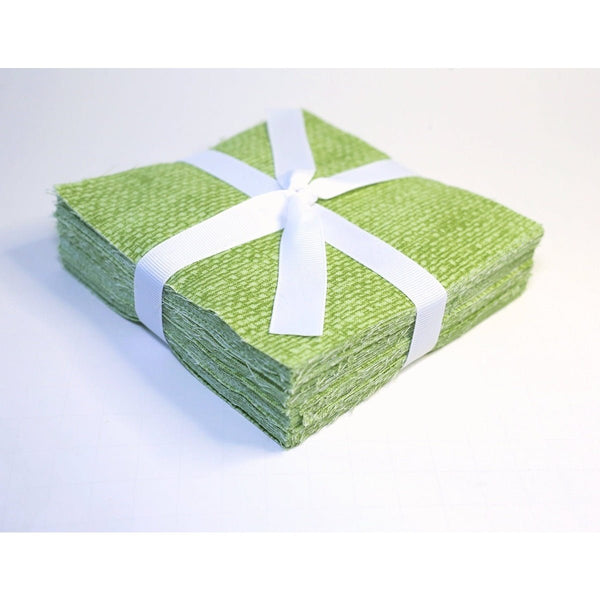
Have you ever wondered what you can make with just 100 charm squares? Look no further! In this blog post, we're sharing the fastest method to create an adorable baby quilt—one so simple that you can finish it in a single day. Best of all, you won’t even need a pattern! Whether you're working with fabric scraps, pre-cut charms, or fat quarters, this project is incredibly flexible and perfect for any fabric you have on hand.
Inspired by Leah Louise from Inspired Quilting by Leah Louise (@InspiredQuiltingbyLeaLouise), this baby quilt can also be sized up to make a lap quilt, giving you endless possibilities. So, grab your fabric and let’s dive into this quick and easy quilt project!
Fabric Selection
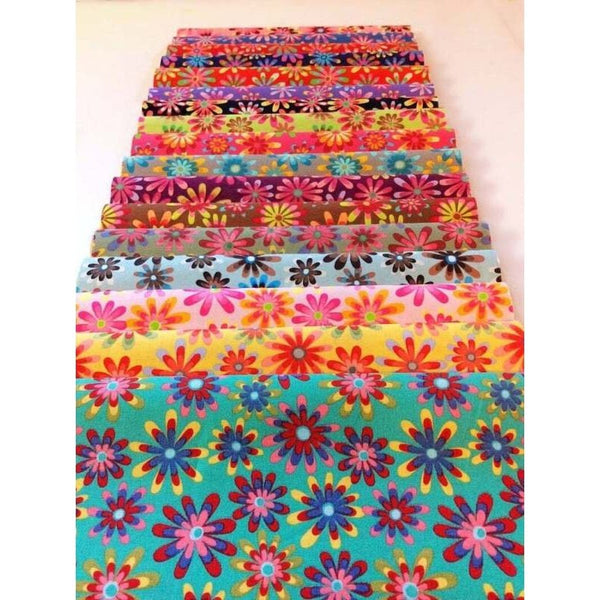
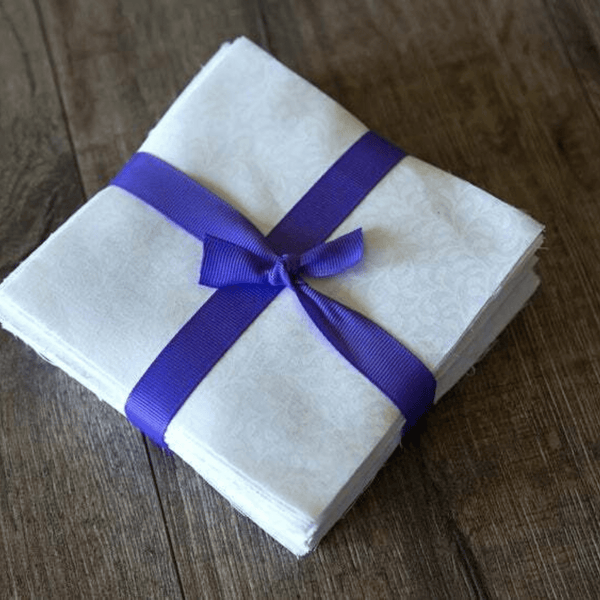
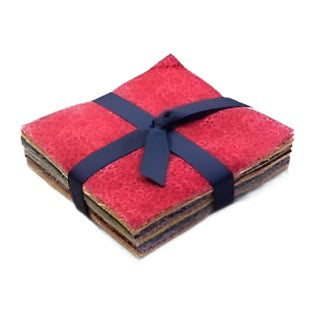
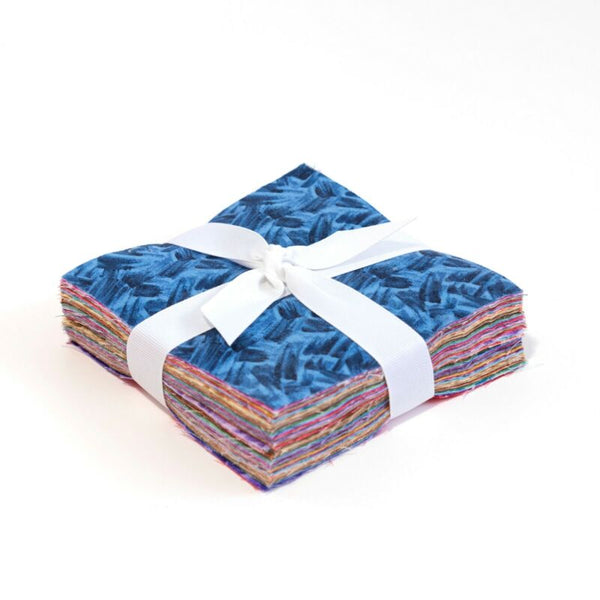
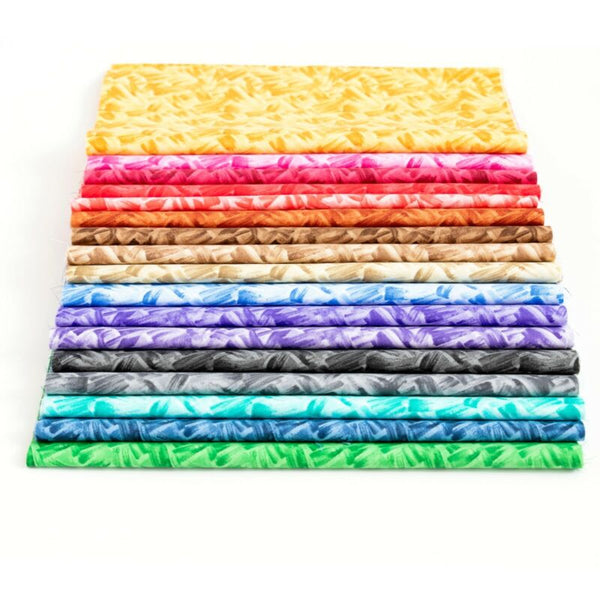
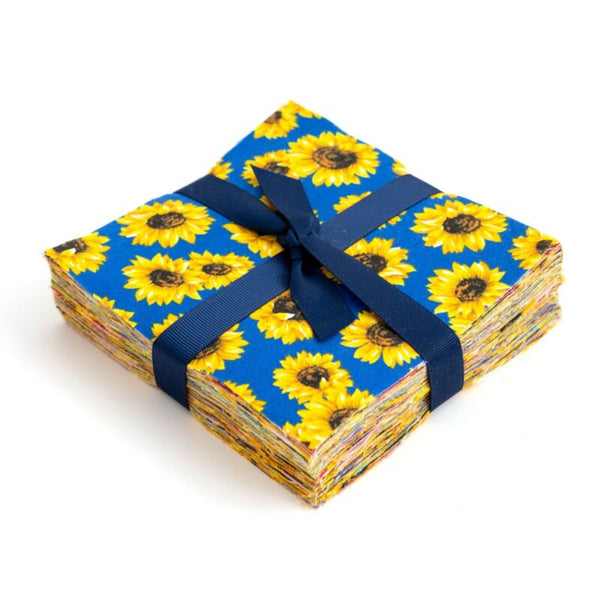
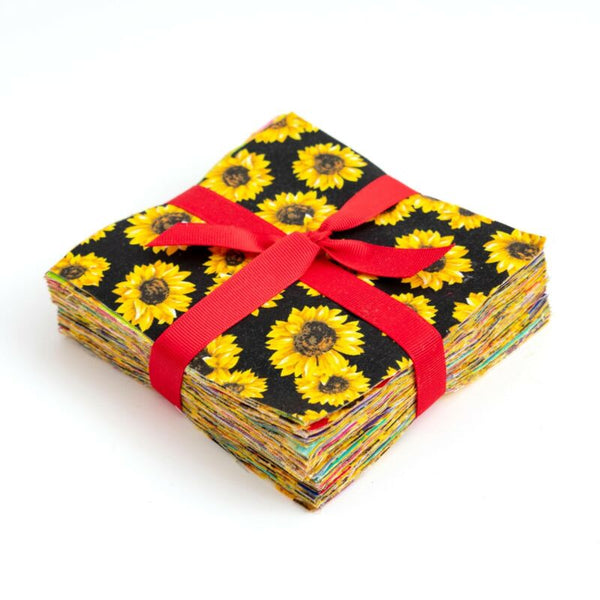
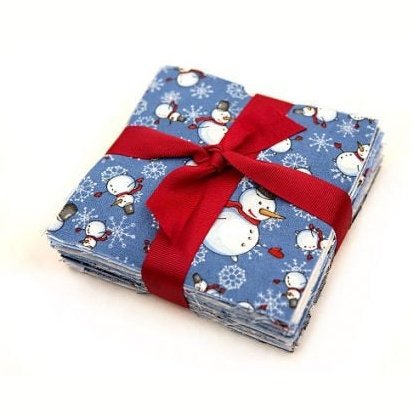
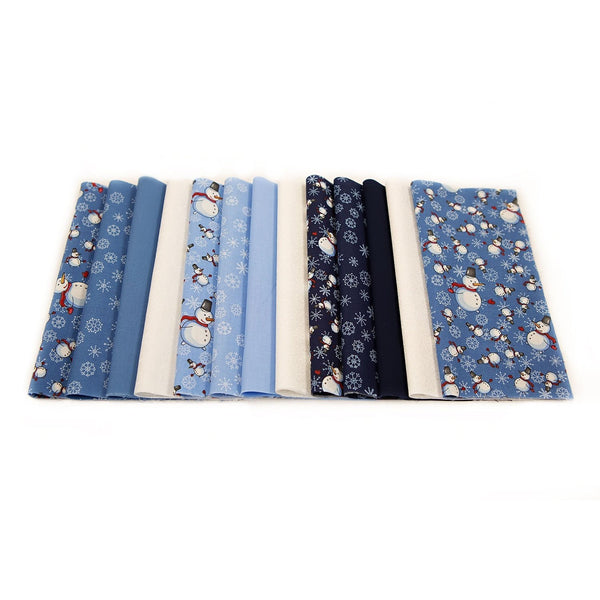
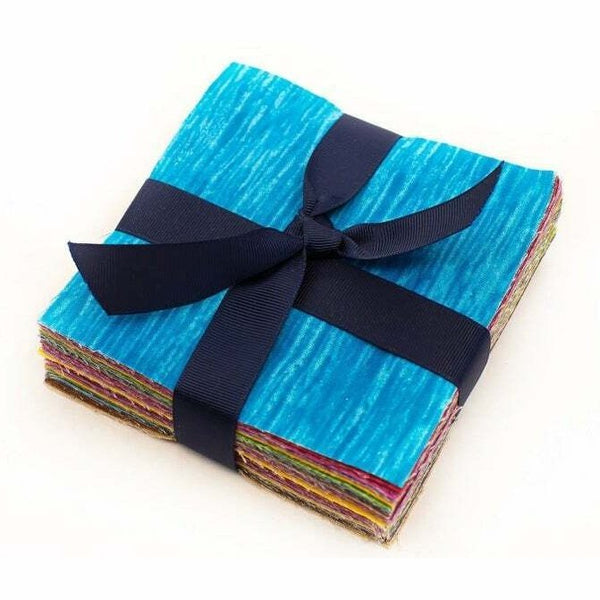
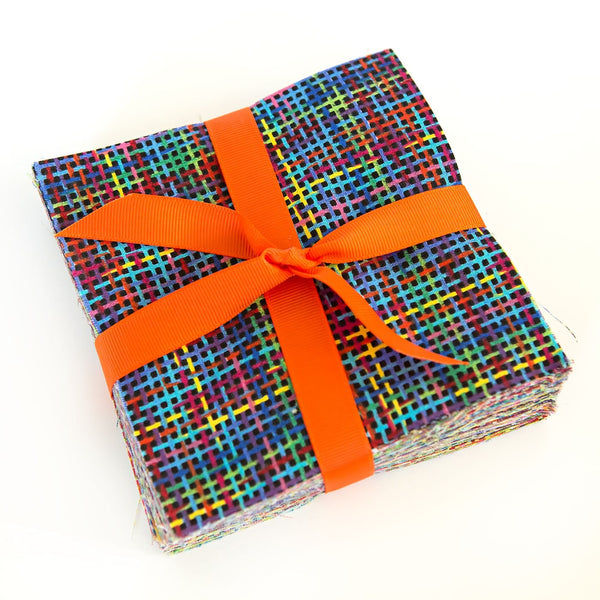
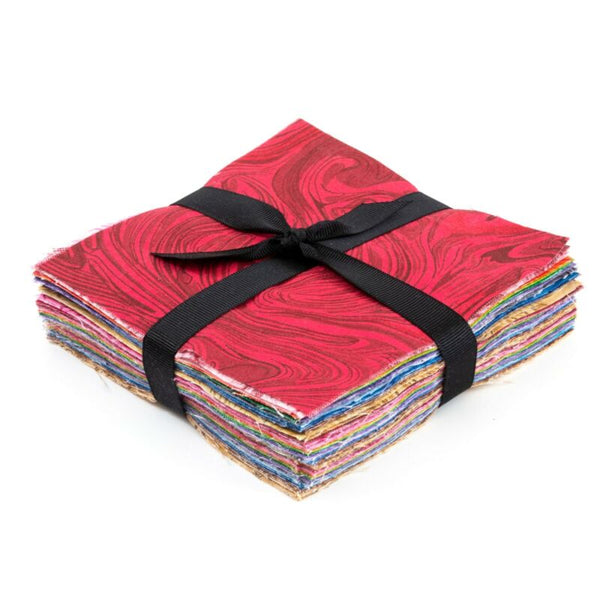
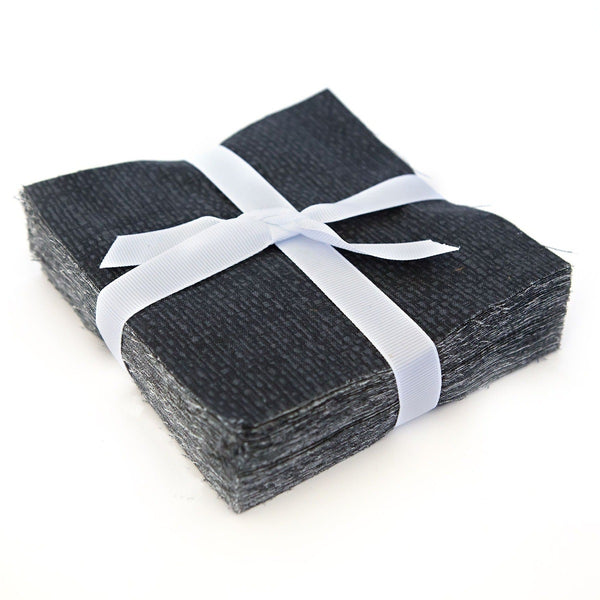
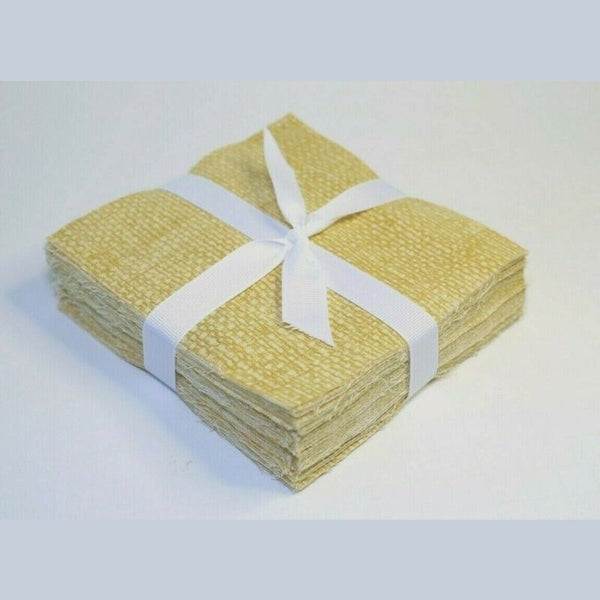
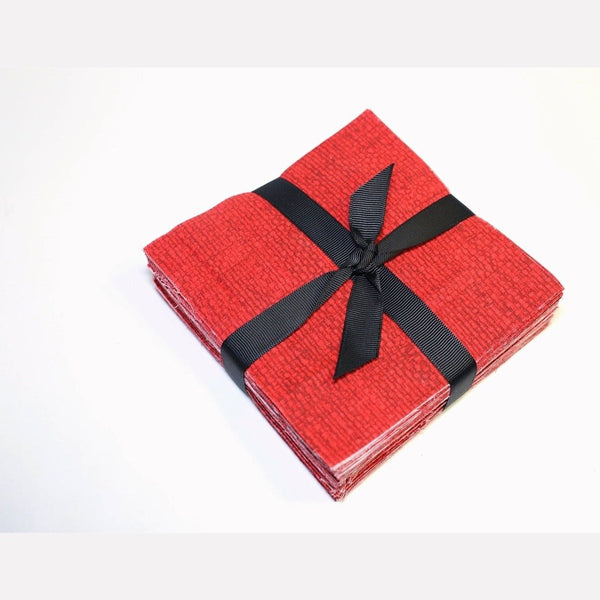
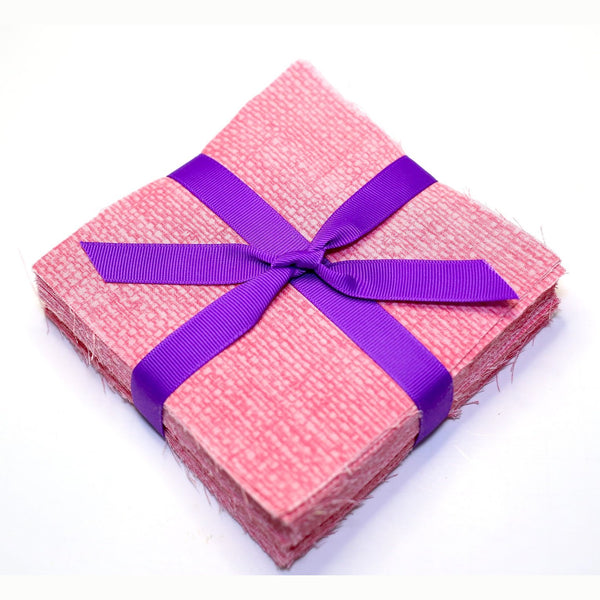
Before we get started, fabric selection is key. Leah uses beautiful, soft pastels from her fat quarter bundles, blending light blues, greens, and a touch of turquoise. For this project, you’ll need 100 charm squares (5-inch squares), which can be cut from your own fat quarters or pulled from pre-cut packs.
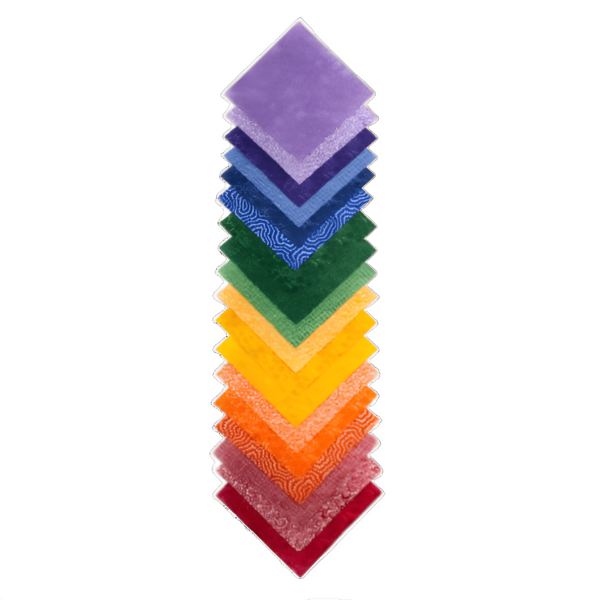
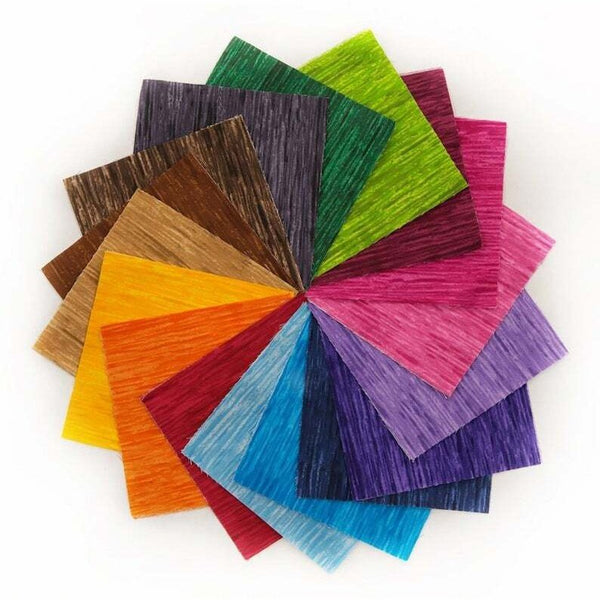
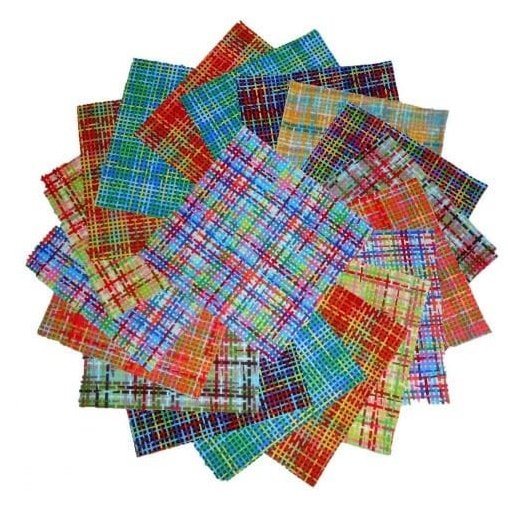
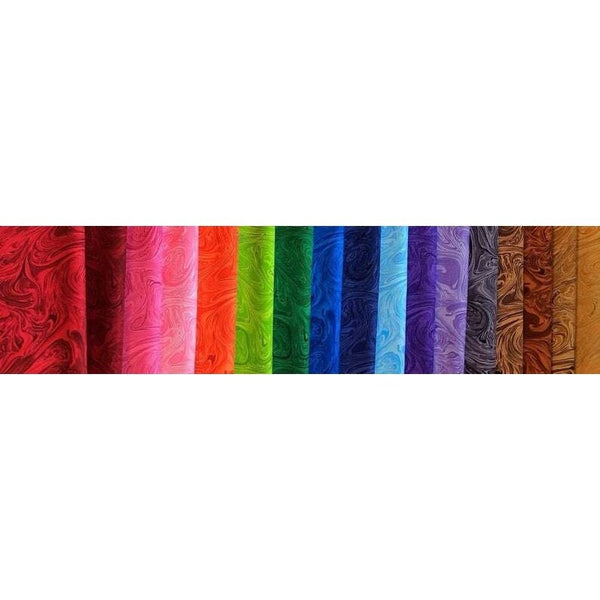
Feel free to get creative! Mix and match colors and prints to create a scrappy, colorful quilt. Leah recommends adding some near-solid prints to break up busier patterns, making sure to balance light and dark tones for an eye-catching finish.
Making the Blocks
Here’s the fun part! Once your charm squares are cut and sorted, divide them into four piles of 25 squares each. These will form the basis for your quilt blocks. Start by creating a 5x5 block layout, which will give you four large blocks when all is said and done.
Leah uses a chain stitching technique to make quick work of piecing the squares together. If you're not familiar with this technique, it involves sewing one seam after another without cutting the thread between pieces, allowing you to work faster and keep your blocks organized.
How to Sew the Quilt Block
To create one big block, lay out your 25 charm squares in a 5x5 grid. Start sewing them together row by row, and press your seams as you go. Leah recommends pressing in alternating directions to "nest" your seams, ensuring a clean, smooth finish when joining the rows together.
Once all your rows are sewn, sew the rows together to form one large 5x5 block. Repeat this process for all four blocks.
Assembling the Quilt Top
Now, it’s time to bring everything together! Once you have your four blocks completed, cut each block into quarters to create a "disappearing 25-patch" effect. This creates four smaller squares from each block, which can be mixed up and reassembled to create a scrappy, unique quilt top. The pattern resembles a disappearing nine-patch but with 25 squares, adding more complexity and visual interest.
Leah suggests laying out your quilt top to experiment with the arrangement. You’ll find that alternating the direction of the blocks creates beautiful lattice-like patterns across the quilt. This playful design element makes the quilt look more intricate than it actually is!
Finishing the Quilt
Once your blocks are assembled, sew them together to complete the quilt top. The final size will be approximately 44 inches square—perfect for a baby quilt! If you have extra charm squares, you can easily expand the quilt by adding an additional row, turning it into a lap-size quilt that measures 44 by 55 inches.
Make It Your Own!
This simple charm square quilt is incredibly versatile. Whether you stick to pastels like Leah or go bold with high-contrast colors, the possibilities are endless. Experiment with different prints, solids, and color combinations to create a quilt that is uniquely yours. The best part? You can finish this project in an afternoon!
Ready to Get Started?
This charming baby quilt project is perfect for beginners and seasoned quilters alike. Whether you're making a cozy gift or adding a new throw to your own home, the disappearing 25-patch pattern is both simple and stunning.
Give it a try, and don’t forget to share your results with us!
Happy quilting!
Inspired by Leah Louise from Inspired Quilting by Leah Louise (@InspiredQuiltingbyLeaLouise)
