


Making color streak placemats is an excellent idea to add vibrancy and beauty to your dinner table. They are super easy and quick to make with the correct method shared in this blog post.
Here, we will be doing simple sewing so that anyone can spruce up his Kitchen with these cool and stylish color streak placemats.
Materials required:

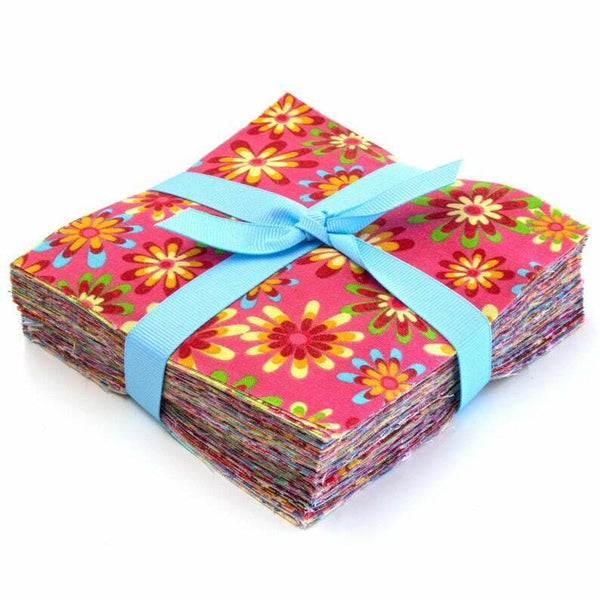
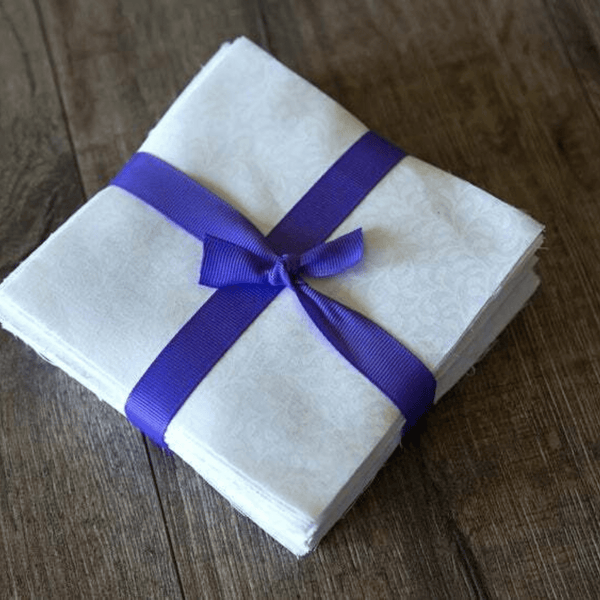
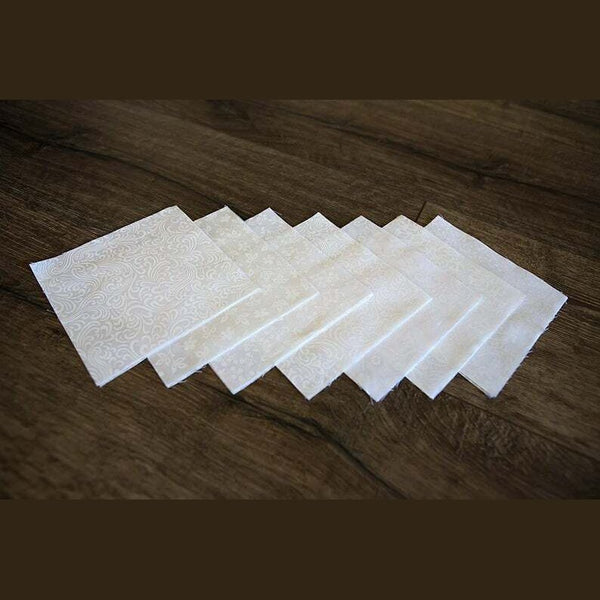
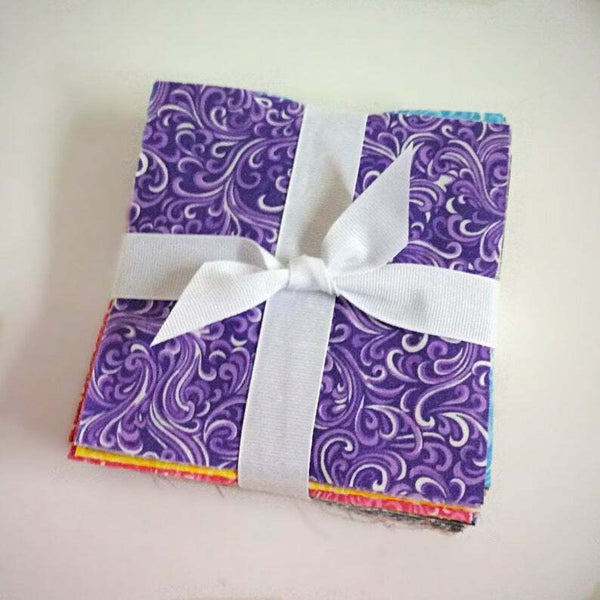
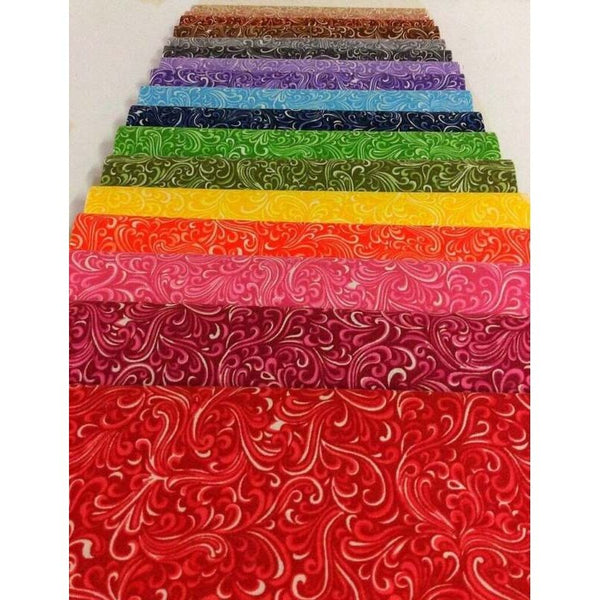
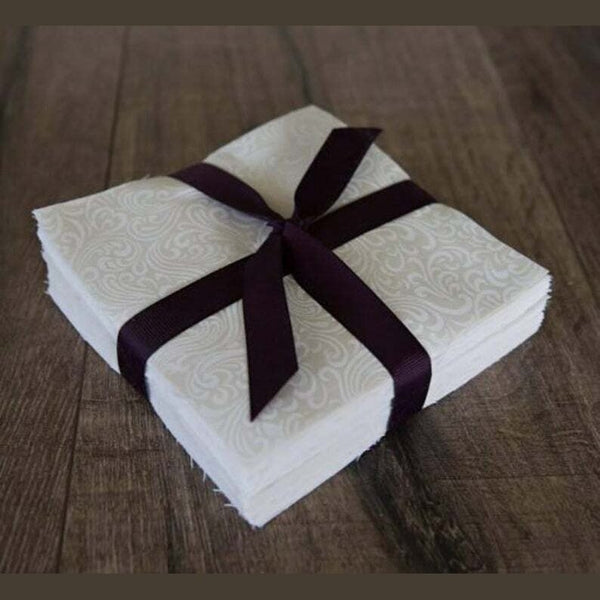
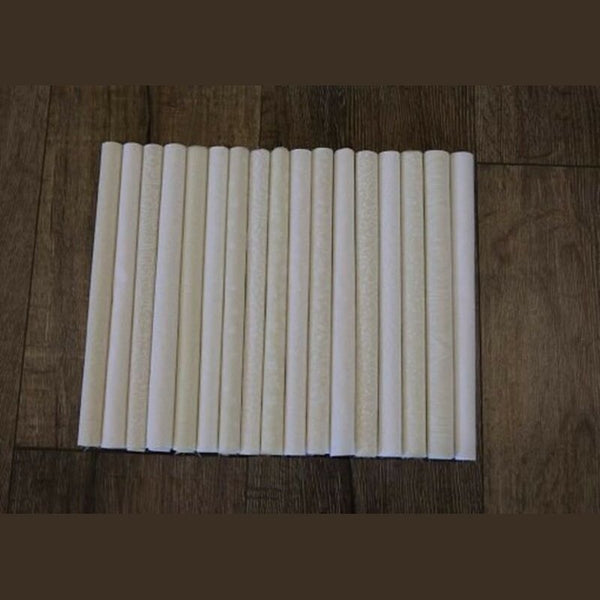
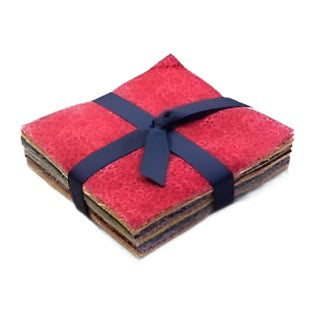
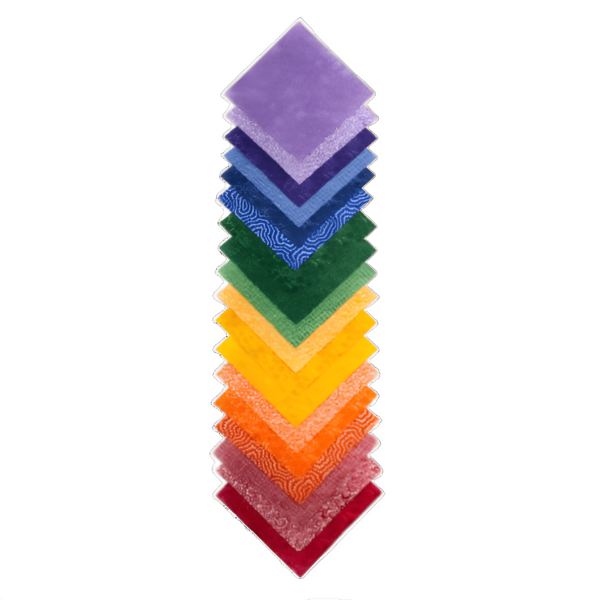
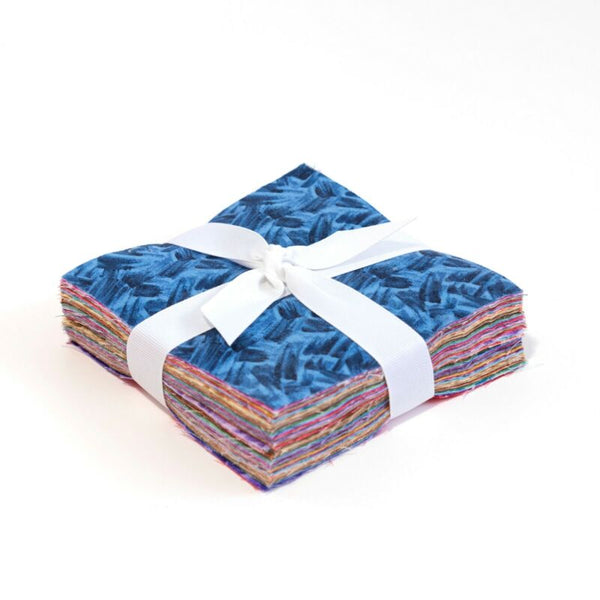
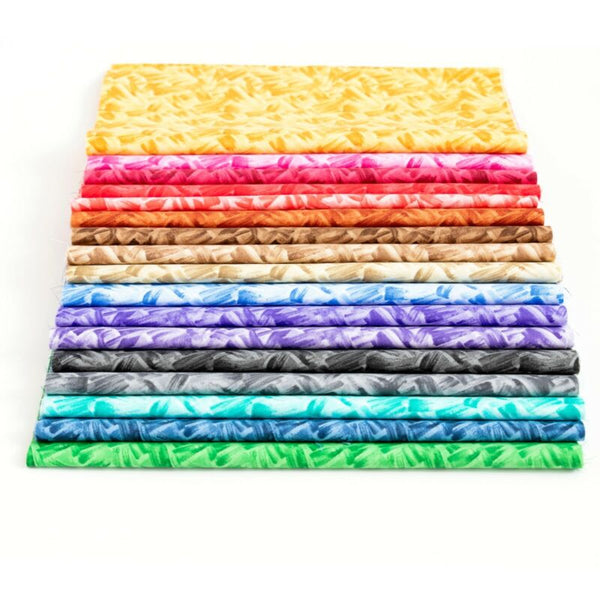
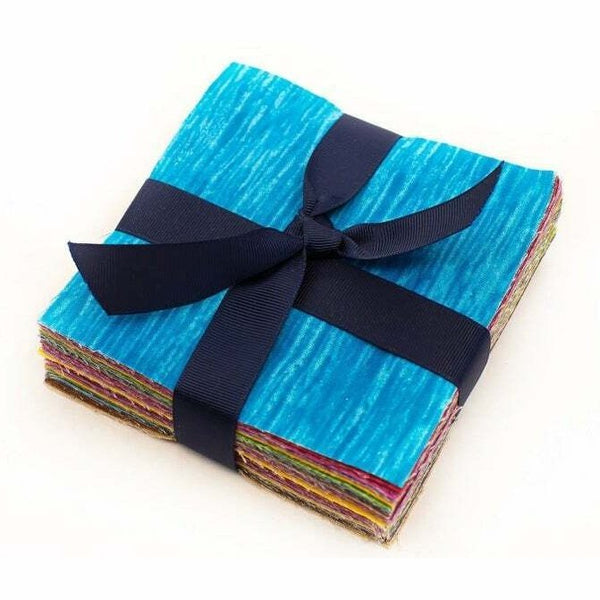
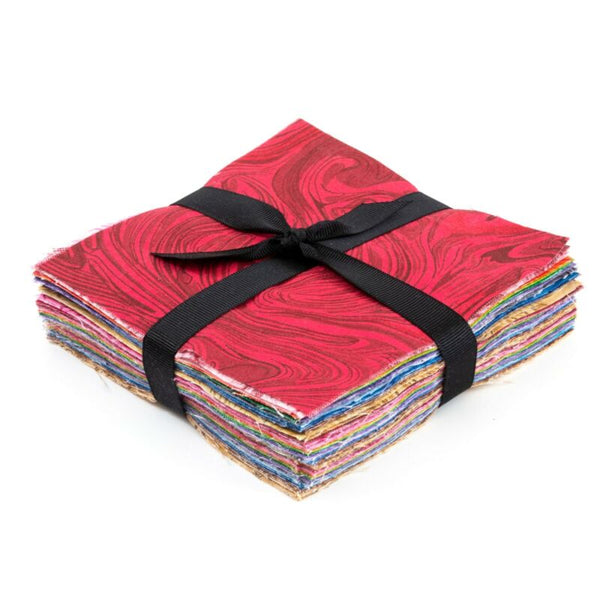
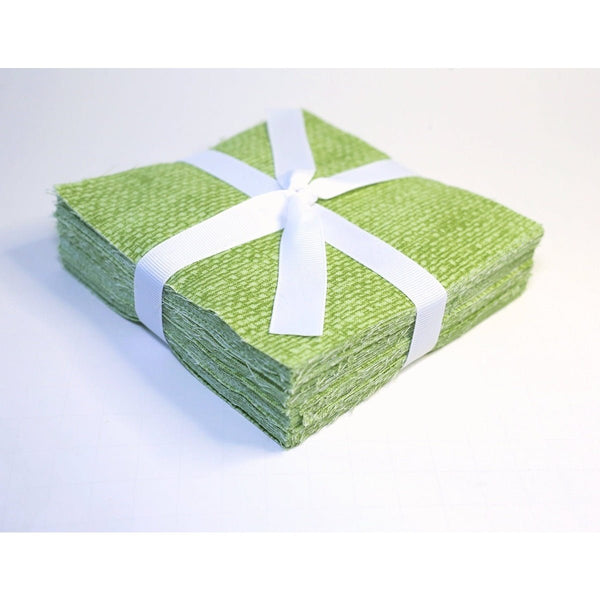
- Background Fabric
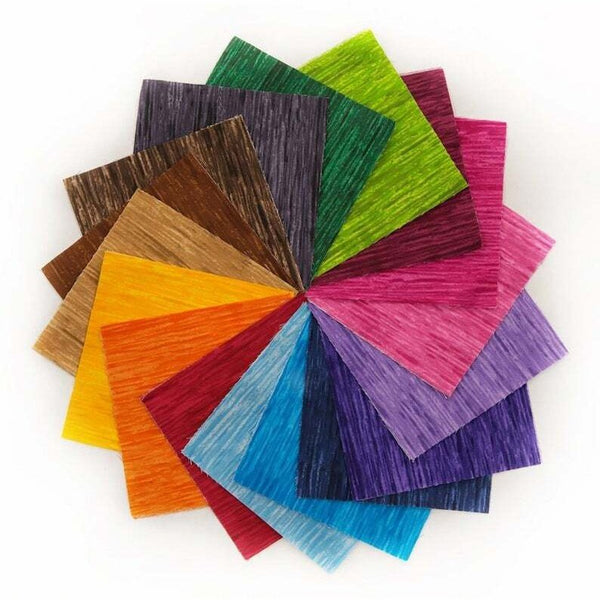
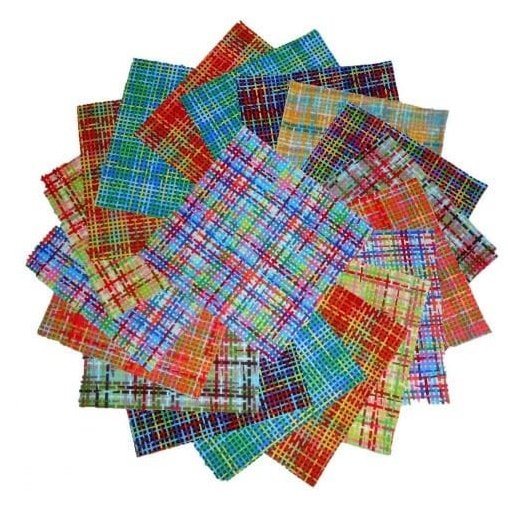
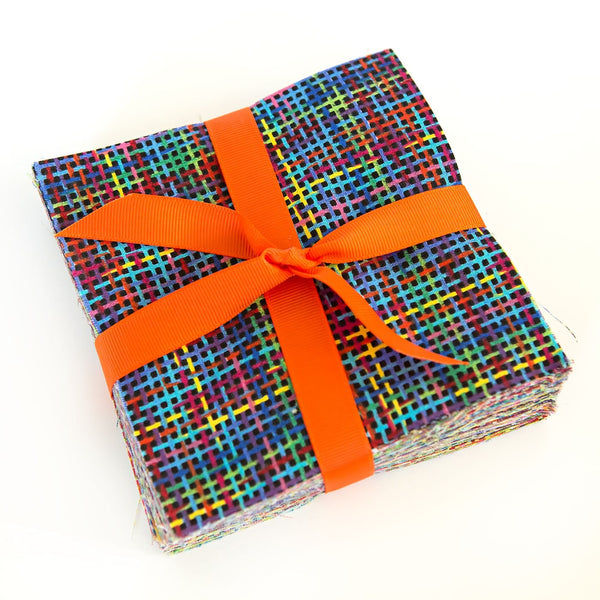
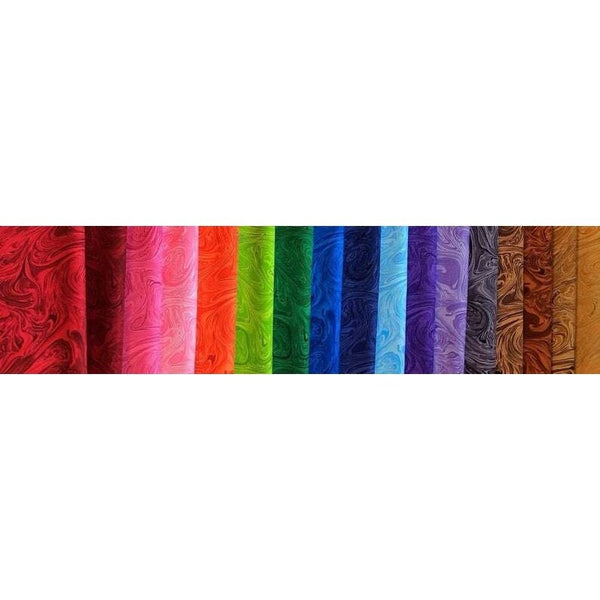
- Assorted Fabric Scraps
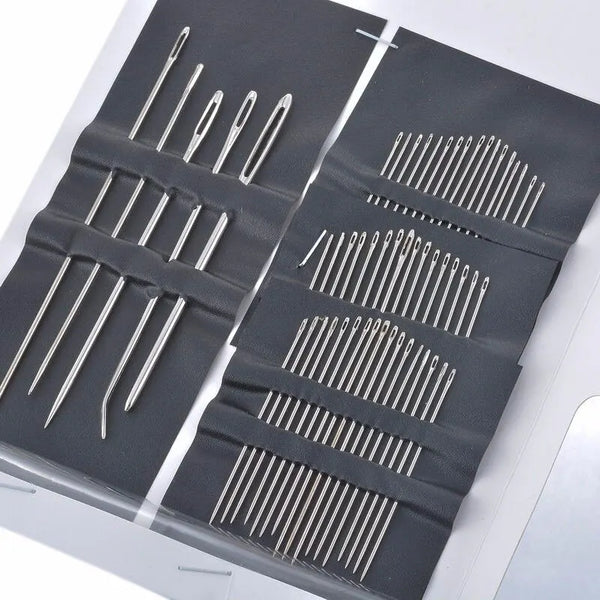
- Needle
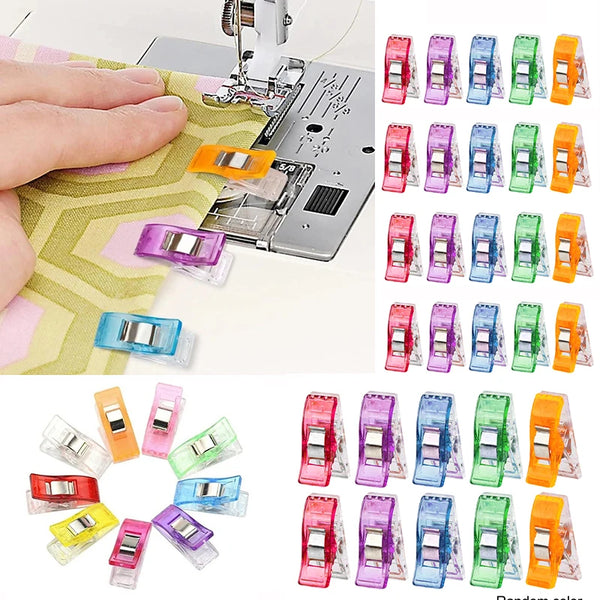
- Quick clip
- Fabric cutter
- Bobbin Thread
- Sewing machine
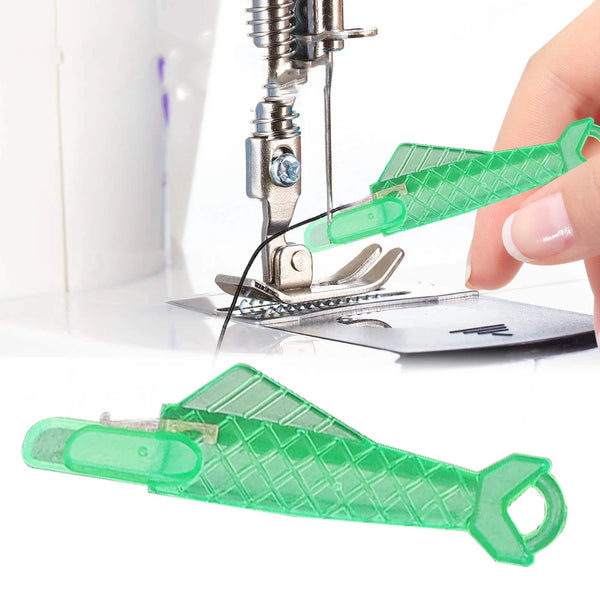
- Seam Ripper
- Sewing supplies
- Stripology ruler
Steps To Perform:
- Backing
- Batting
- Quilting
- Binding
1. Cutting The Fabric

The first step is to cut a 12-½ inch wide flat and thick fabric into three or four strips with a fabric cutter.

The width of these strips should be the same as mentioned in the article.
First, remove the extra selvage from the fabric and then cut two strips of 3-½ inch width. You’ll use these strips to make the first two double layers of the placemats.

Next, cut another two strips by changing the size to 4-½ inch width in the same fabric. Make sure to use a stripology ruler for accurate measurements.

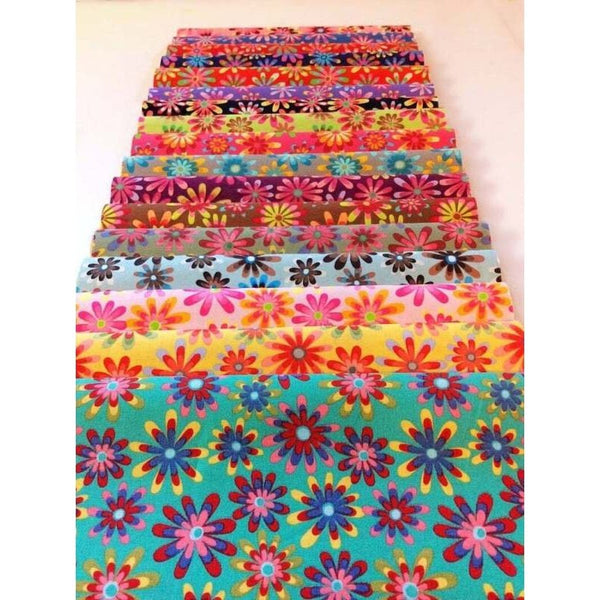
2. Making the color streaks

Here, you can choose any multi-color fabric of a size 1-¼ to 2-inch wide and 7 to 8 inches long.
Try to choose a thin and soft fabric as you will sew both the fabric strips and color streaks with each other.
Cut first two fine strips of 1-½ inch width and the other two of 1-½ inch width. You can cut more strips but make sure you only get two different sizes of strips in the end.


3. Putting the placemats together

Mix the color streaks to have a contrasting color scheme on the placemat that you will sew.
Lay down all the fabric strips and color streaks alternatively on a piece of foam core board to easily carry the assembled strips. It’s better to use any adhesive for attaching the batting to the foam board.

4. Sew the placemats together
Use a regular size sewing machine with a walking foot to evenly stitch the layers of fabric and batting during quilting.

Buy a WALKING FOOT here: https://bit.ly/3v9dRXC
Shorten the stitch length to 2.0mm and sew the placemat together as per the chosen positions.
After finishing, press the color streaks from the back a couple of times to check if the placement is straight and perfect.
5. Quilting With The Walking Foot

It’s a good practice to pin the placemats for making the quilt sandwich light and smooth. Use the Kwik Klio for this so that you don’t hurt your fingers during pinning.

Buy the KWIK KLIP here: https://bit.ly/3vbZQso
Set the edge guide of your walking foot by loosening its screw to the desired limit. Next, insert your needle in the little hook present on the walking foot.
It helps to balance the foot while quilting over the thick fabric and reduces interruption during sewing.
Set the walking foot on the sewing machine by fitting its arm around the needle sew.
Use a dark-colored or black thread and start sewing the placemats altogether.
Choose a straight direction and unique design for quilting while attempting the first swoop on the placemat.
Repeat the same swoops with now changing the stitch length up to 2.5mm.

6. Finishing Up the placemats
Once quilted, take out all the safety pins from the placemats. Check every row from front and back of the placemat to make sure if you’ve not missed any patch.
Use the cutter to trim the extra selvage of the placemat for a neat and clean final look. Lastly, try any binding technique to add a style definition to the final placemats.

For this, you can take any accent strip of 1-¾ inch width and the binding strip of 1-⅜ inch width to bind at all the corner sides of the placemat.

Conclusion:
Hopefully, this comprehensive guide helps you to make pretty and simplistic color streak placemats with little effort.
If so, don’t forget to share the picture of your placemats with us and tell us how easy it was.
Watch this tutorial on video below:
Featured in the video:
WALKING FOOT: https://bit.ly/3v9dRXC
KWIK KLIP: https://bit.ly/3vbZQso
WALK 2.0 BY Jacquie Gering: https://amzn.to/2Pf0qWS
Watch this video on YouTube: https://youtu.be/GDLsxZpRqzk.
Make sure to follow Amy ODonnell on YouTube. She is a very talented creator and a good customer of The Fabric Hut.