


Are you looking for a fun, creative sewing project? Look no further! In today’s blog post, inspired by Erica Arndt’s (@erica_arndt) fantastic YouTube tutorial, we’ll guide you step-by-step on how to make a stunning Jelly Roll Rug. If you haven’t seen her video yet, we highly recommend checking it out, as she explains each step in detail and offers helpful tips to make your project successful.
What You’ll Need
Before diving into the instructions, here’s a quick list of supplies you'll need:
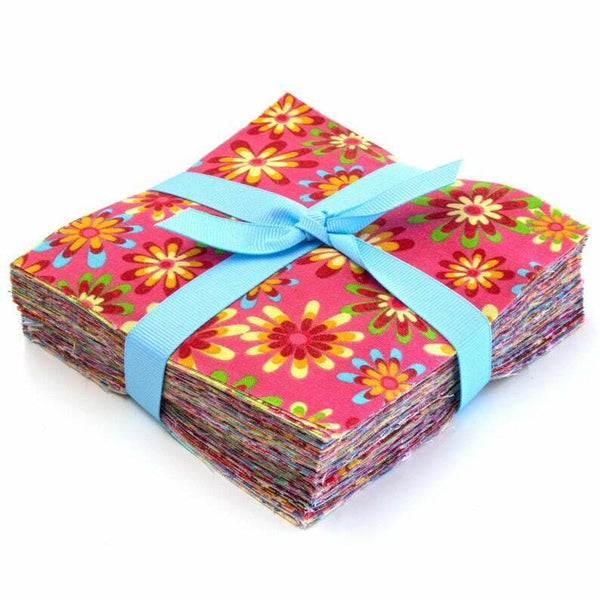
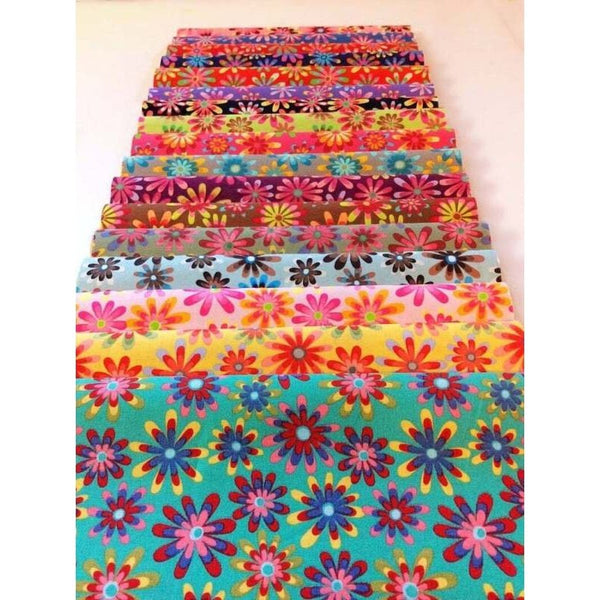
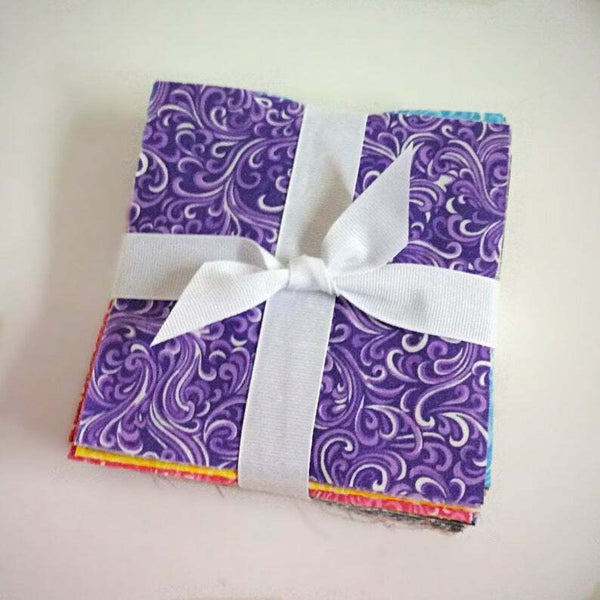
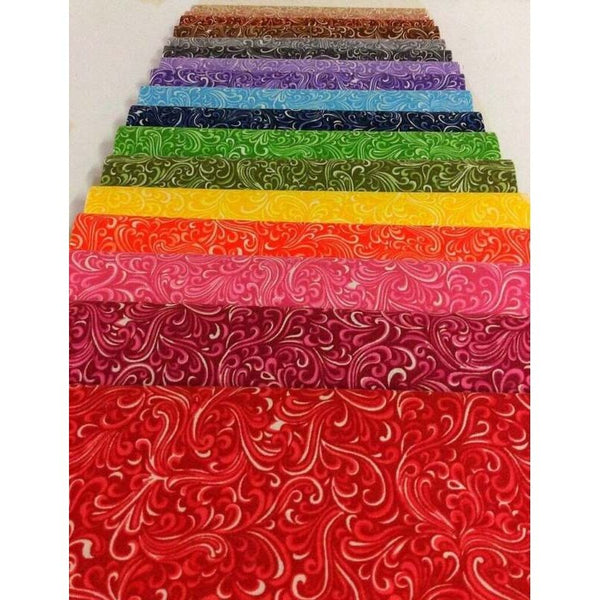
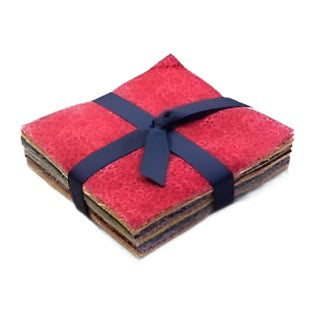
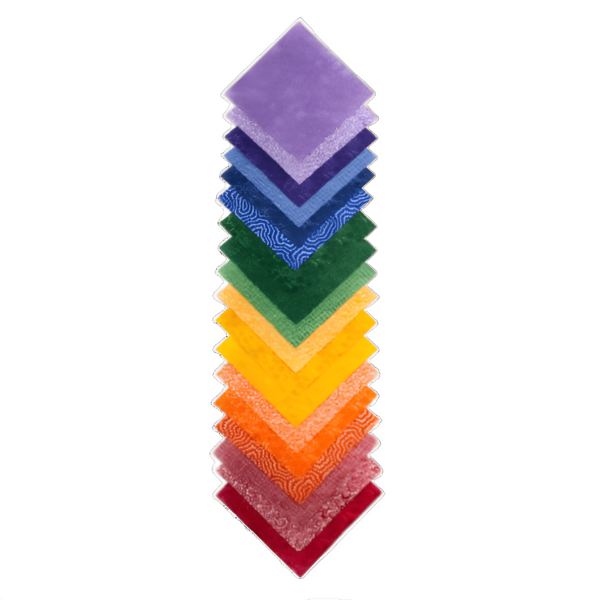
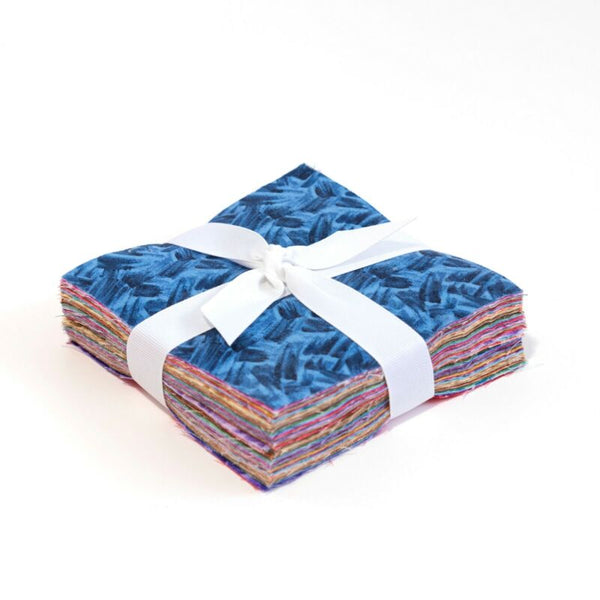
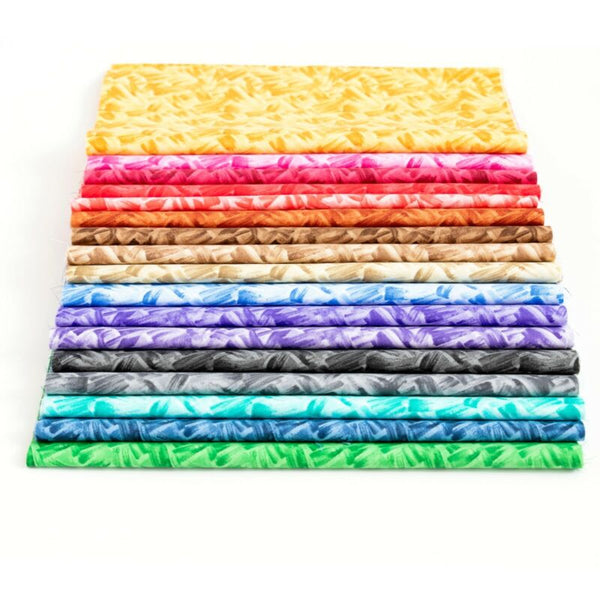
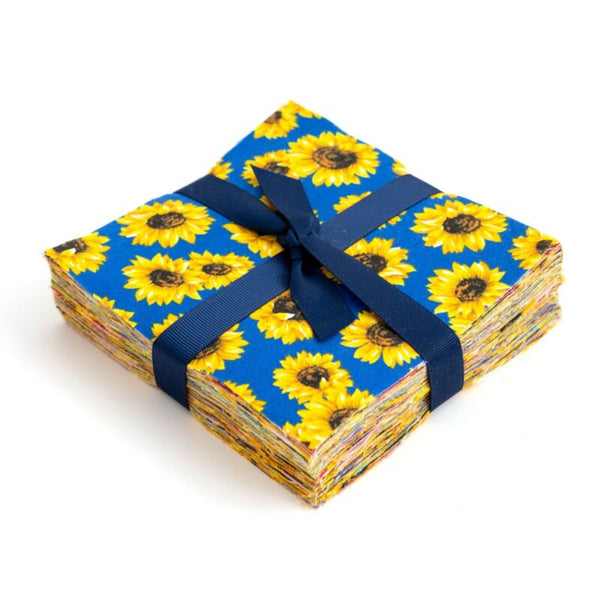
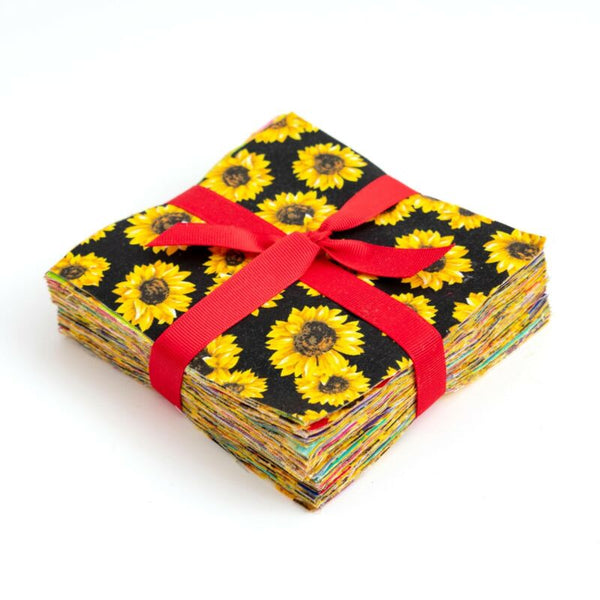
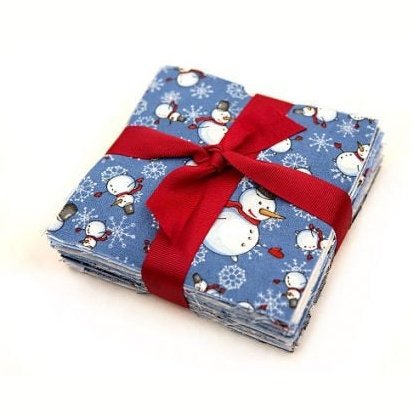
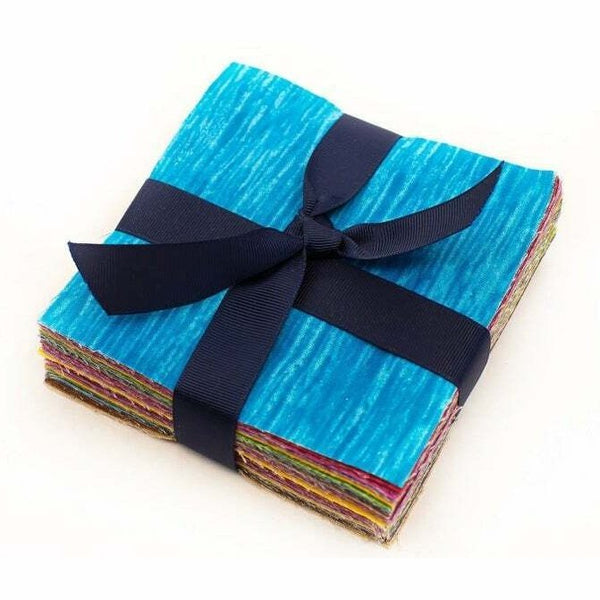
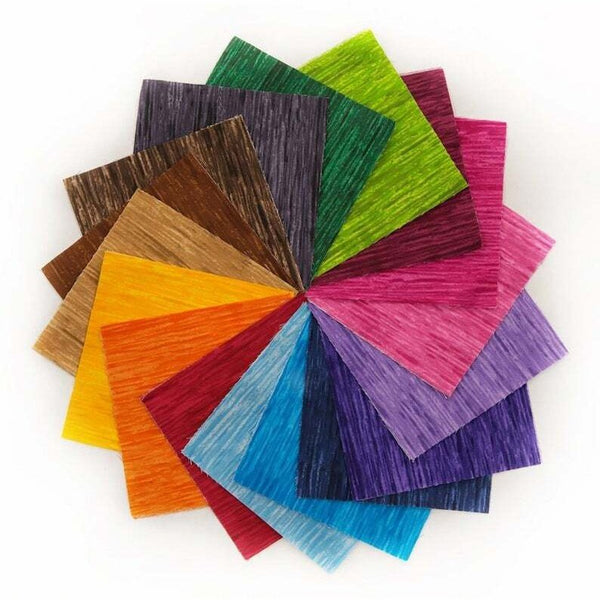
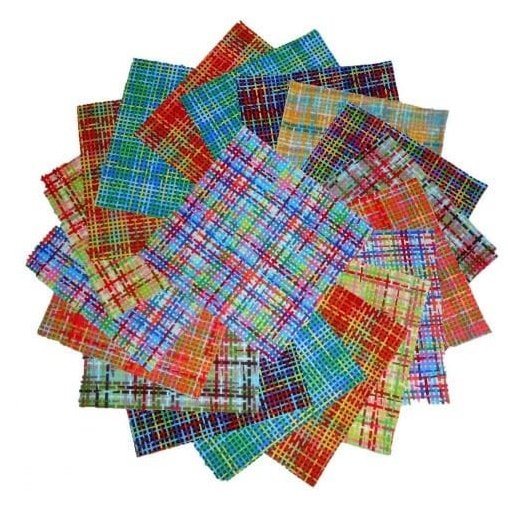
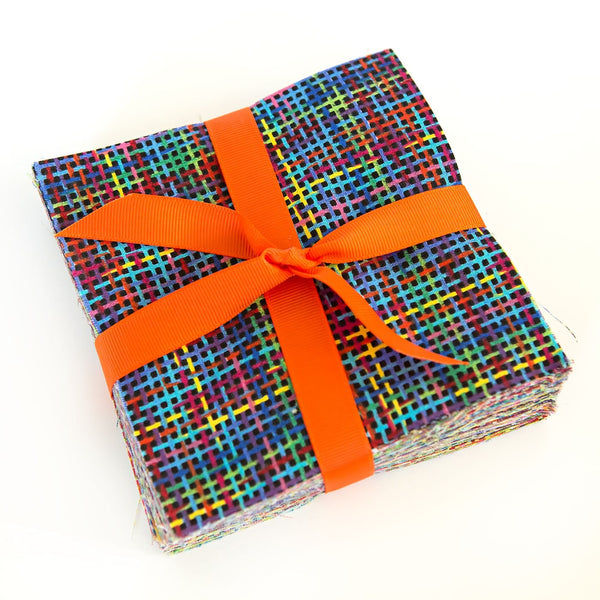
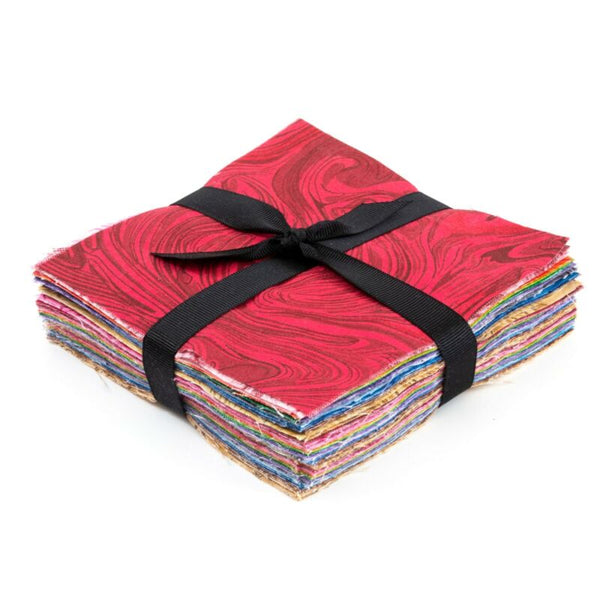
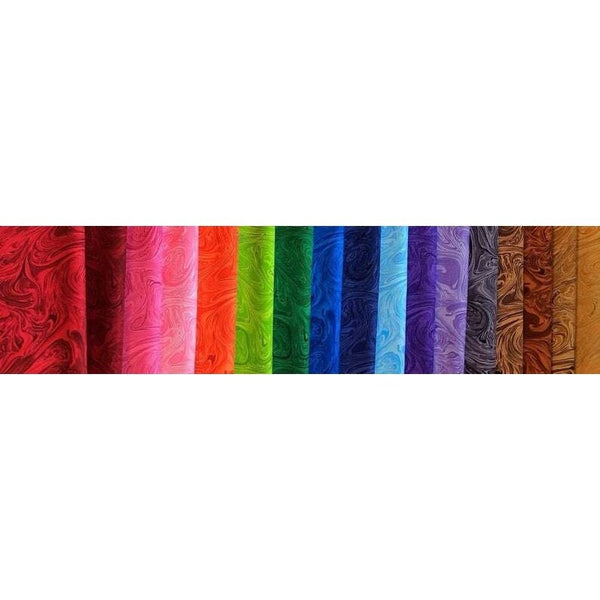
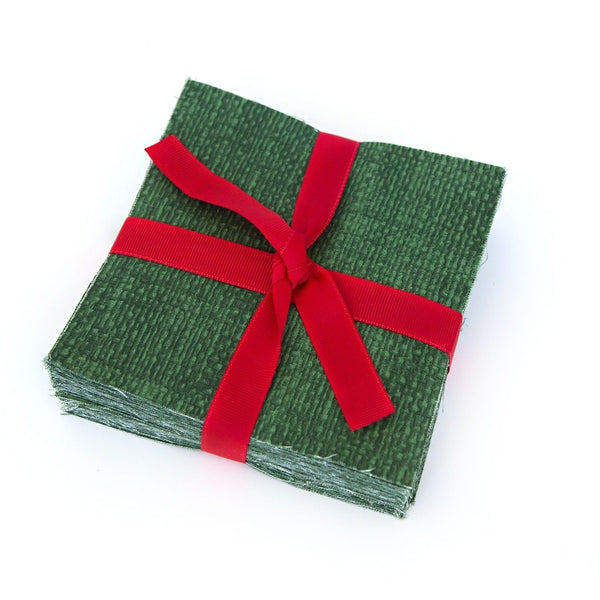
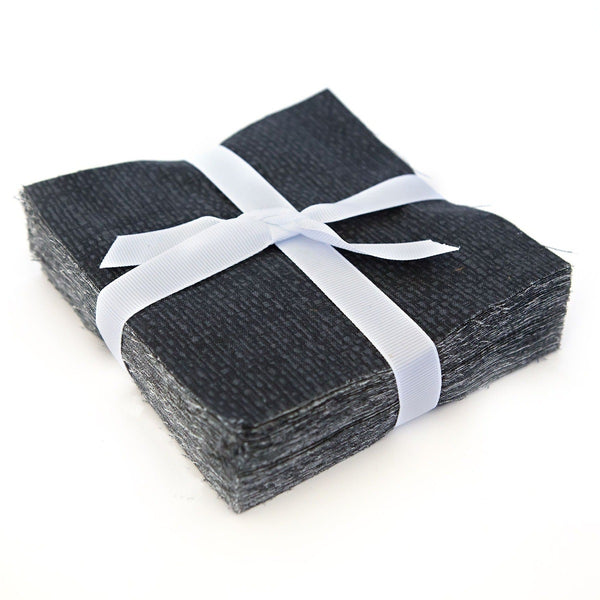
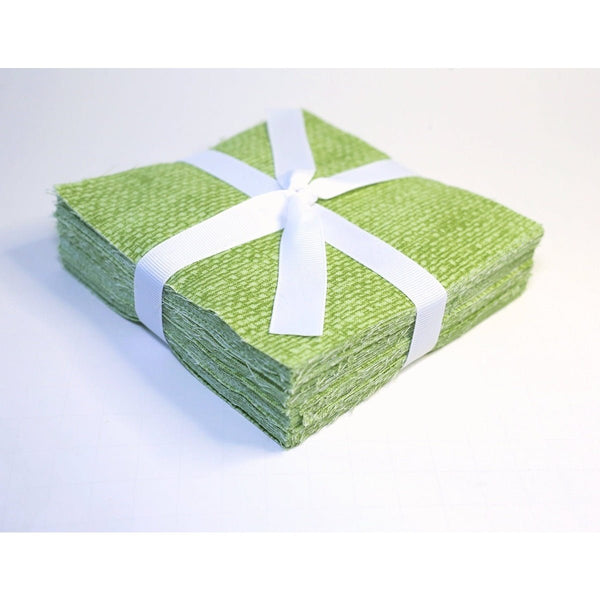
- Jelly Roll of Your Choice: Erica used a vintage picnic jelly roll by Bonnie Camille for Moda. You can pick any color and pattern combination that suits your taste! You can browse and purchase a variety of Jelly Rolls directly from our store here.
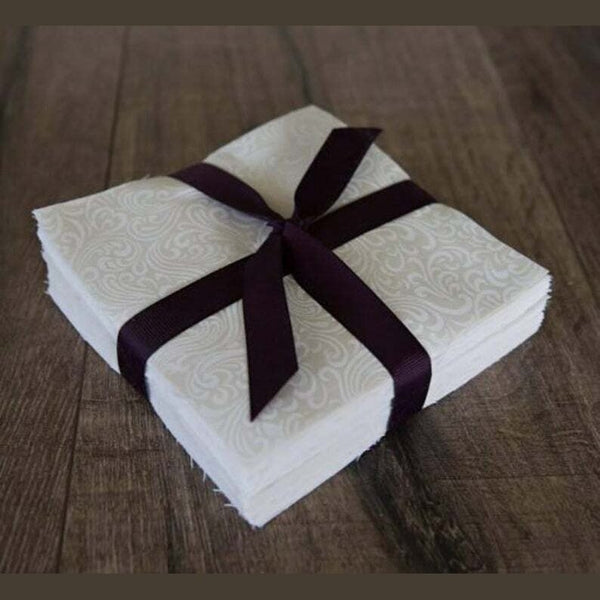
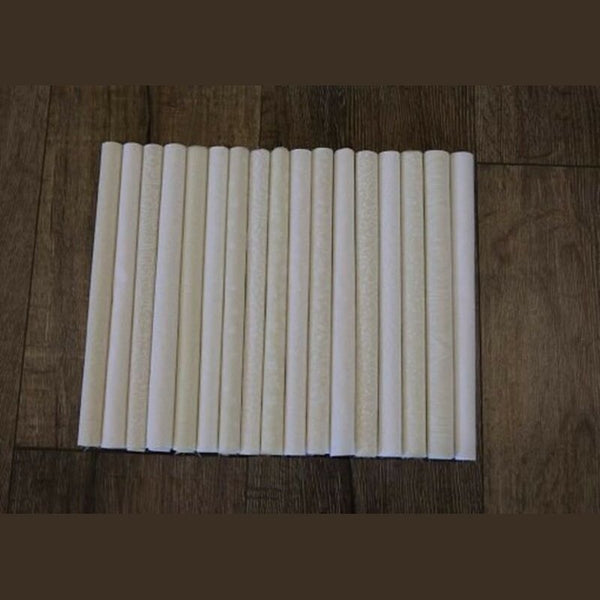
- Batting: You can either buy pre-cut batting rolls made specifically for jelly roll rugs or cut your own strips from batting scraps.
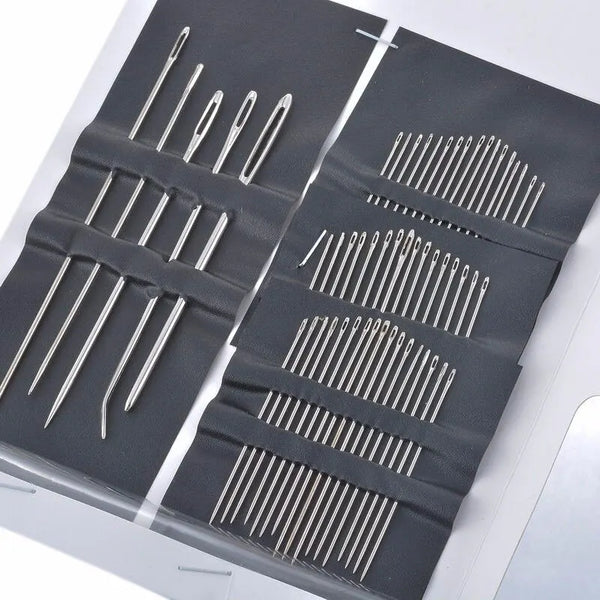
- Denim Needle: It’s crucial for sewing through thick layers without breaking your thread.
- Good Quality Thread: Choose a 50-weight cotton thread to match your cotton batting and fabric.
- Steam Iron: Helpful for keeping everything flat while sewing.
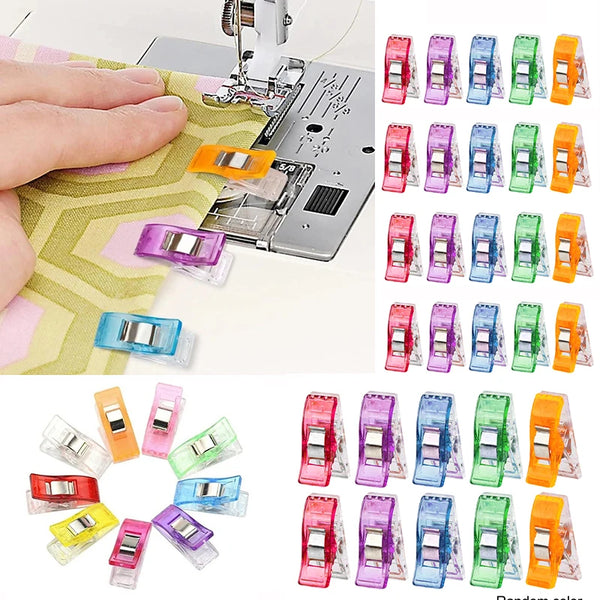
- Wonder Clips or Pins: These will hold your folded strips together (get the clips here).
- Sewing Machine with a Zigzag Stitch: Essential for stitching your strips together.
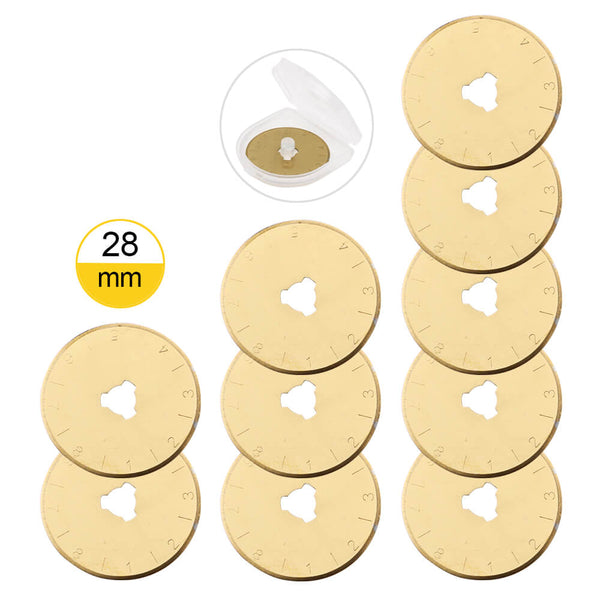
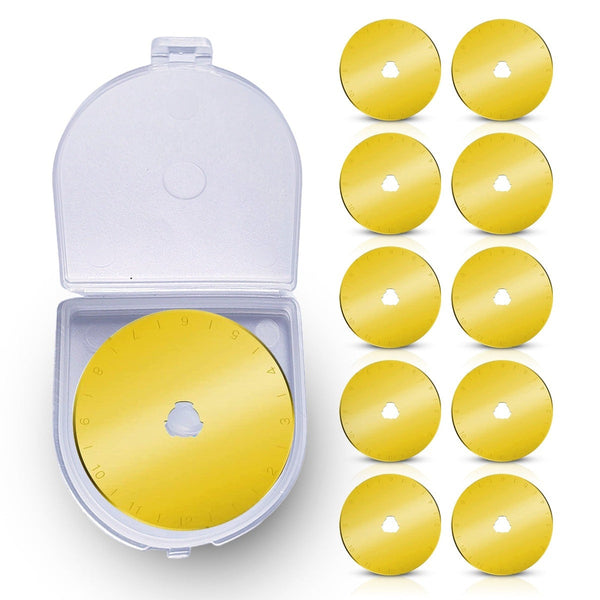
Optional items include press starch and a rotary blade for more precise cutting.
Step-by-Step Guide
1. Prepare Your Jelly Roll Strips
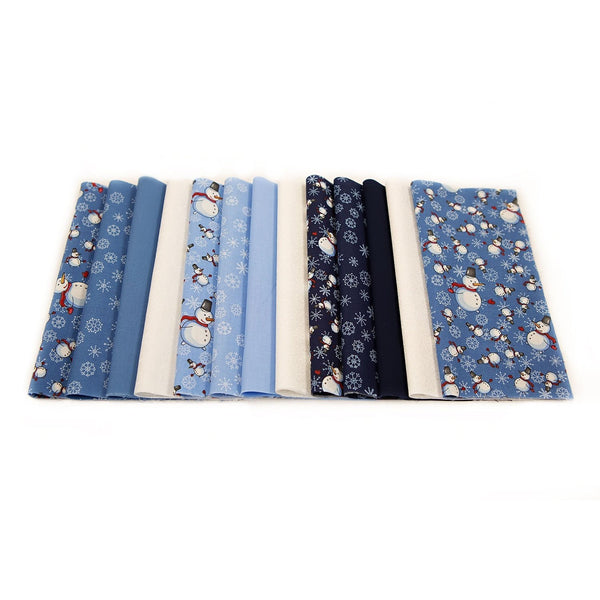
- Unwrap your jelly roll and choose how to arrange the strips. You can either keep them in their original order or rearrange them for a more scrappy look.
- Begin by sewing each strip together end-to-end using a mitered corner to reduce bulk.
2. Prepare the Batting
- If you purchased pre-made batting rolls, great! You’re ready to go. If not, cut your batting into strips that match the length of your jelly roll strips.
- Lay the batting on top of your fabric strip, fold each side into the middle, and then fold the entire strip in half. This way, you create a nice and neat fabric-batting sandwich.
3. Sew the Strips Together
- Using a straight stitch, sew along the edge of your folded strip, ensuring that all layers are secured.
- If your batting runs out, simply butt the new strip up against the old one or overlap them slightly and keep sewing.
4. Creating the Rug
- Decide the shape of your rug—circular or oval. The length of your first strip determines the overall shape.
- Begin folding your prepared strips into the desired shape and start sewing using a wide zigzag stitch.
- As Erica advises, make sure to set your sewing machine to the widest zigzag setting to cover both strips as you sew.
5. Avoid Common Issues
- Erica shares some great tips to avoid a wavy rug:
- Use a flat sewing surface to prevent the rug from curling.
- Stop every few rows to steam press the rug.
- Go slow around corners to ensure the rug lays flat.
6. Finishing Up
- When you reach the end of your jelly roll, tuck the edge neatly under the last strip to create a seamless finish. Do a backstitch to secure it, and voila—you have your very own custom-made Jelly Roll Rug!
Final Thoughts
This project is a fantastic way to use up leftover fabric and batting, and it’s versatile enough to create rugs in various sizes and shapes. Make a small one for your bathroom or a larger one for your living room—the possibilities are endless!
We’d like to extend a huge thanks to Erica Arndt for the inspiration and tutorial! Be sure to visit Erica’s YouTube channel and show her some love. If you create your own Jelly Roll Rug, don’t forget to tag #thefabrichut #jellyrollrug on Instagram and Facebook to share your beautiful work!
Looking for the perfect jelly roll to get started? Check out our collection and patterns for your next masterpiece.
Happy crafting! ✂️🧵
---
This blog post is based on a video tutorial by Erica Arndt (@erica_arndt). We highly encourage you to watch her video for a more detailed step-by-step guide. The video will be embedded below for your convenience.