

Looking for your next quilt project? Moonkin Stitchery has shared a fantastic tutorial for the “Shipping Links” quilt pattern that’s perfect for quilters of all levels. In this blog post, we’ll walk you through the steps needed to create this beautiful throw-size quilt using 10-inch squares, also known as layer cakes. Ready to get started? Let’s dive in!
What You’ll Need
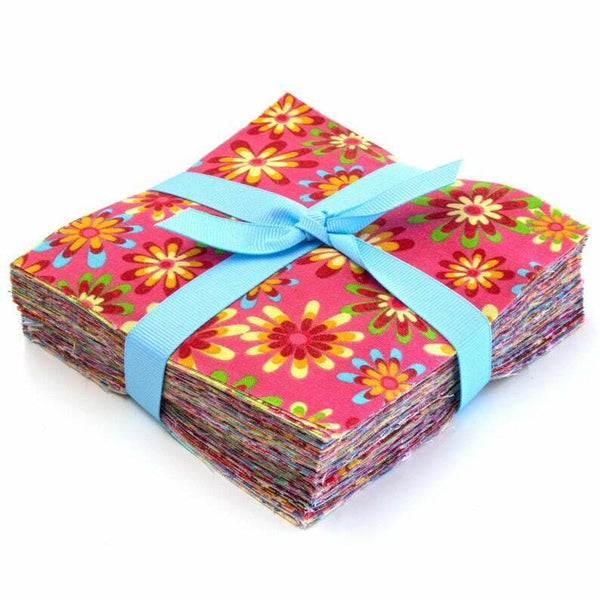
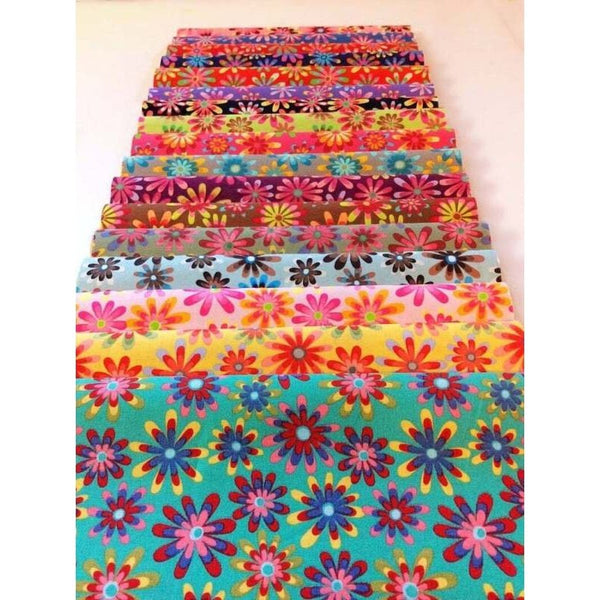
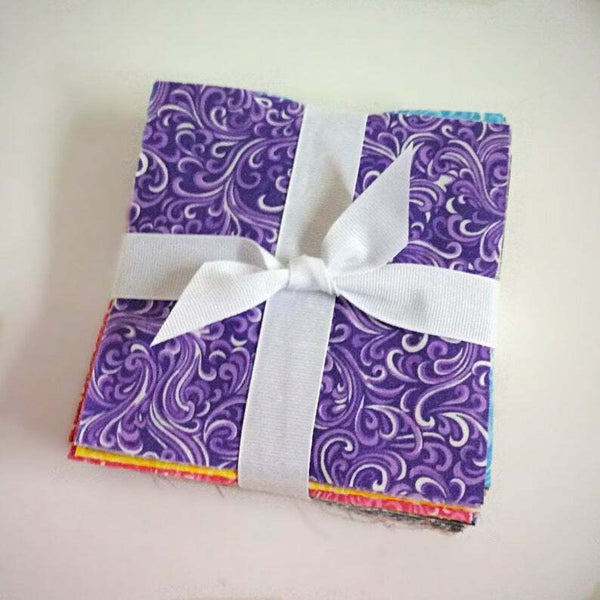
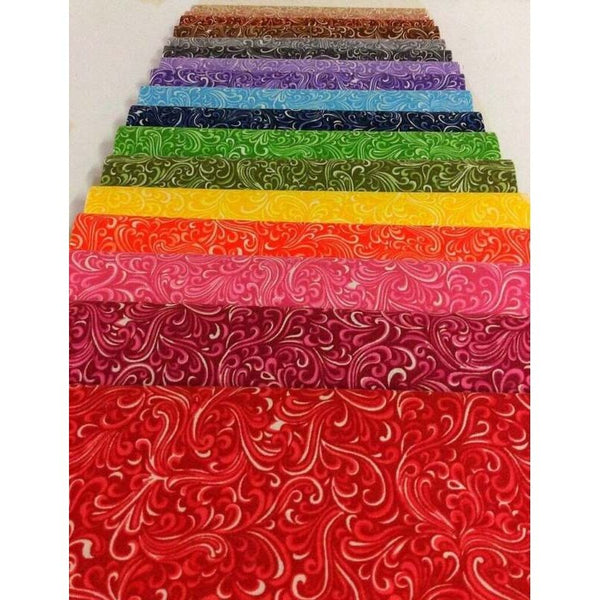
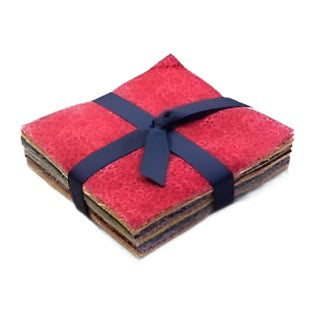
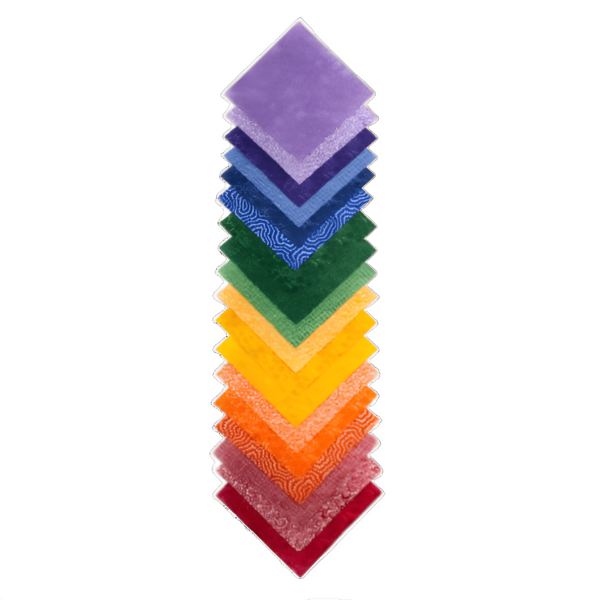
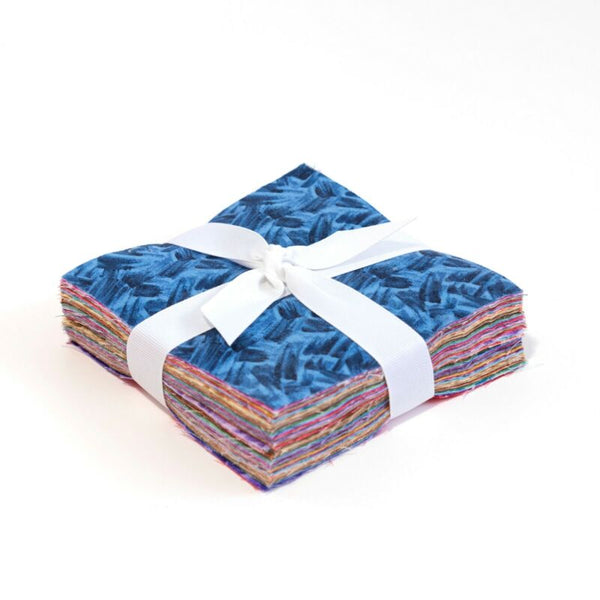
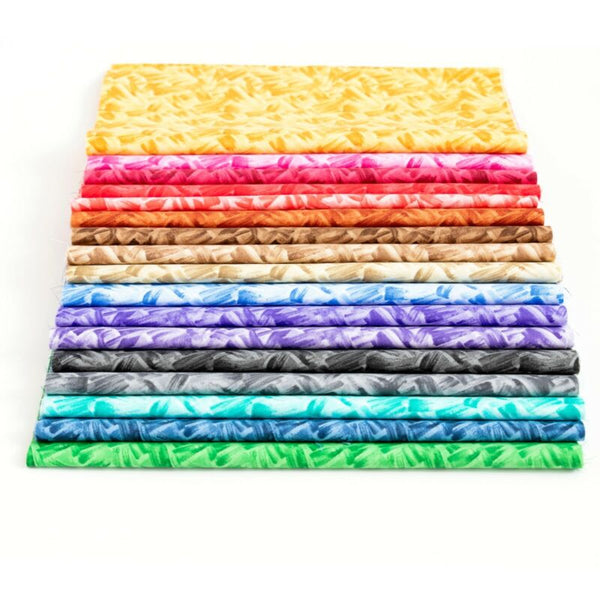
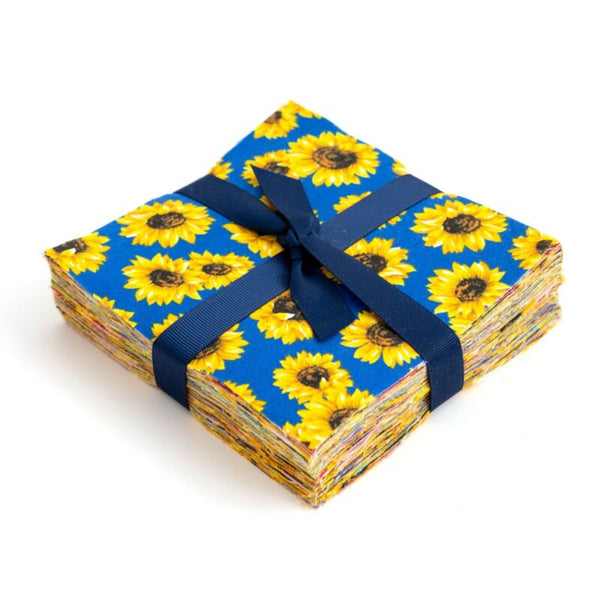
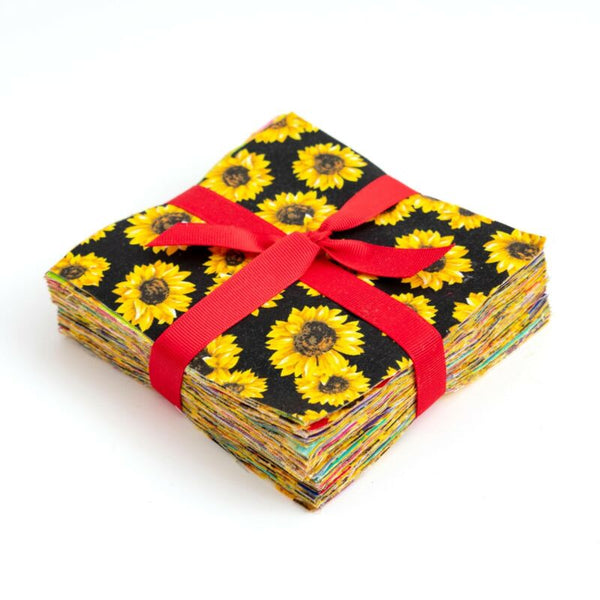
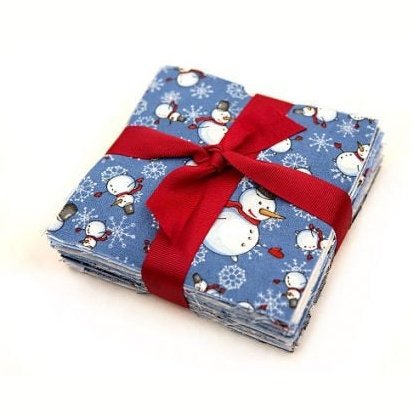
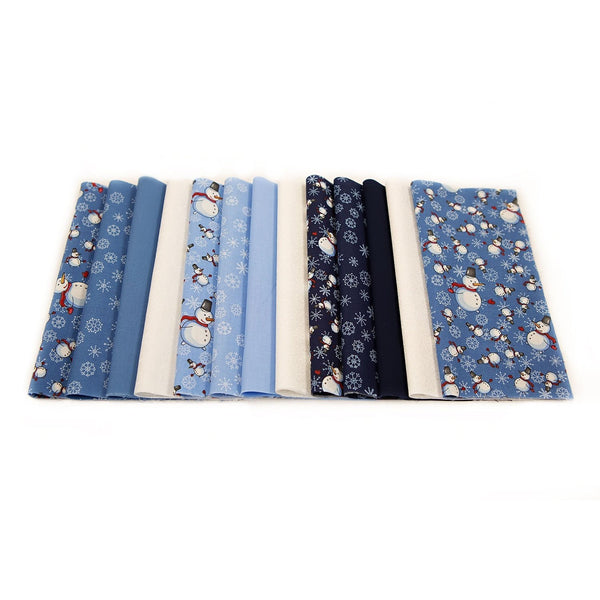
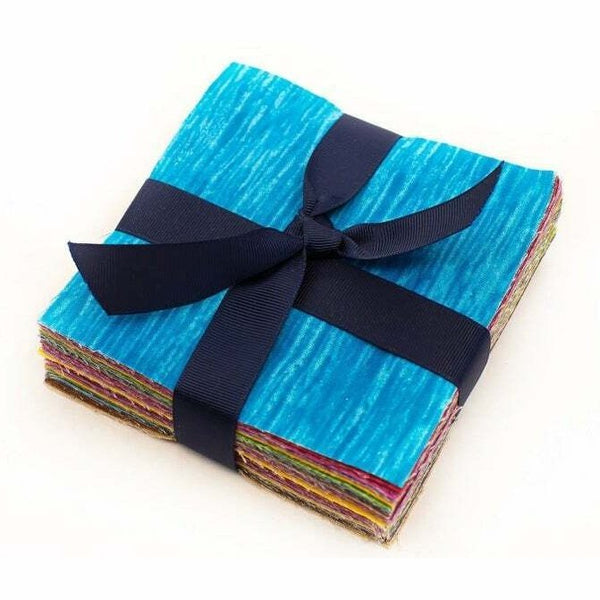
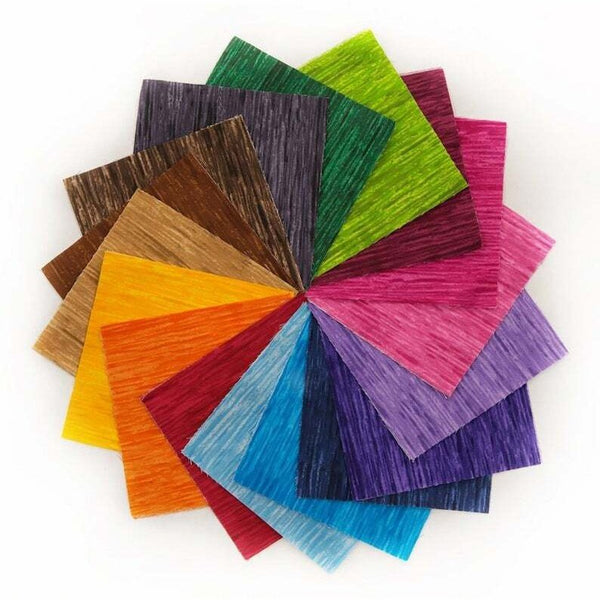
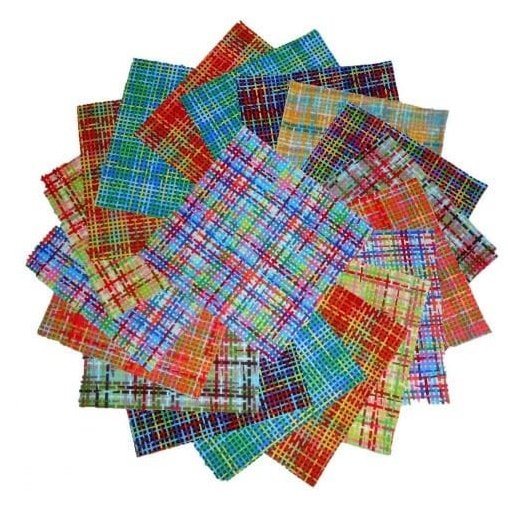
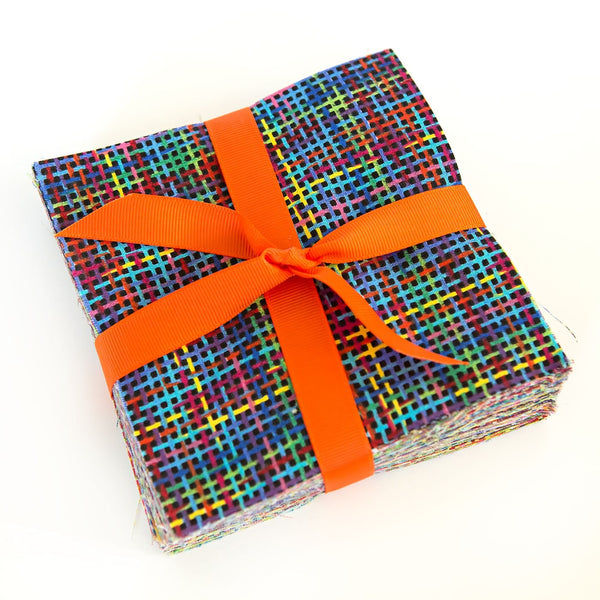
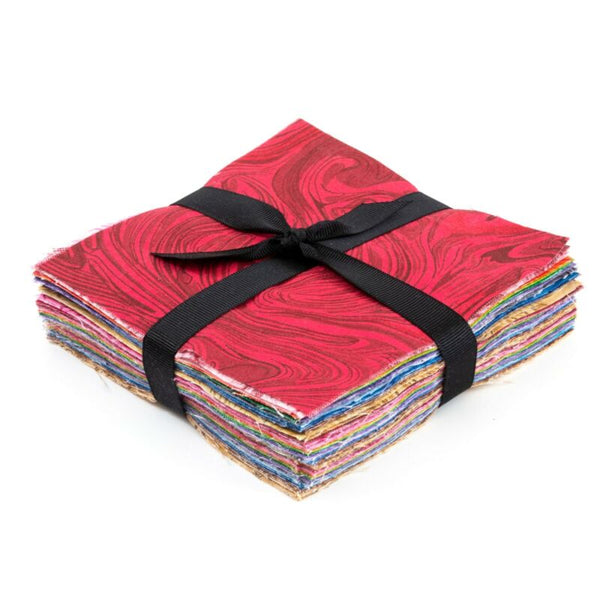
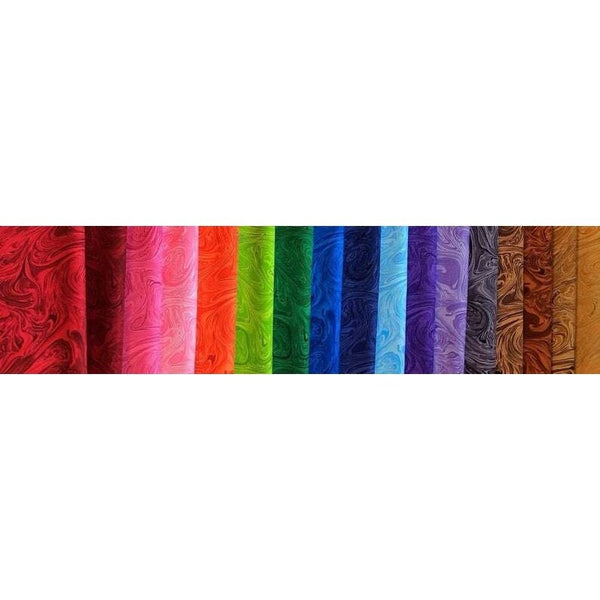
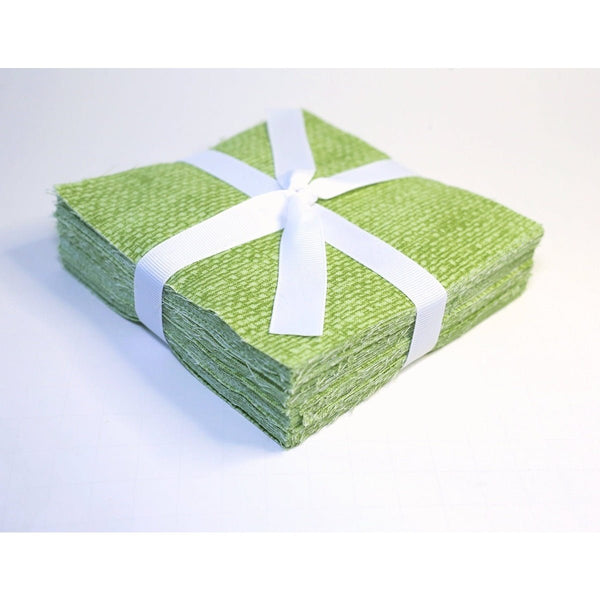
For this pattern, you’ll need a single layer cake (42 squares of 10” x 10” fabric), which will yield a 48” x 56” throw-size quilt. If you want to create a twin-size quilt, you’ll need two layer cake bundles to make 80 blocks, giving you a finished size of 64” x 80”.
Step 1: Cutting Your Fabric
-
Subcut Each 10-Inch Square:
- Cut each 10-inch square into:
- Two 3.5” x 8.5” rectangles
- Four 2.5” x 2.5” squares
- Cut each 10-inch square into:
-
Organize Your Pieces:
- Place your 2.5” squares in the middle of each 3.5” x 8.5” rectangle.
- Mix up your prints, but keep each rectangle consistent within its own unit.
Step 2: Assembling Your Quilt Blocks
-
Create the Center Units:
- Sew your four 2.5” squares together in a column with a ¼” seam allowance. This will leave you with a 2.5” x 8.5” rectangle.
-
Attach Side Rectangles:
- Sew the 3.5” x 8.5” rectangles to both the left and right sides of your center column to complete an 8.5” square block.
-
Repeat:
- Continue making blocks until you have a total of 42 blocks for a throw-size quilt, or 80 blocks for a twin-size quilt.
Step 3: Laying Out and Sewing the Quilt Top
-
Layout Your Blocks:
- Arrange your blocks in a 6x7 layout for a throw-size quilt.
- Rotate each block 90° to create an interlocking pattern that gives the quilt its signature “Shipping Links” look.
-
Sew Your Rows:
- Sew your blocks together to form rows. Make sure your seams are aligned for a polished finish.
-
Assemble the Quilt Top:
- Sew your rows together to complete your quilt top.
Step 4: Choosing Backing, Thread, and Quilting
- Backing: For her quilt, Moonkin Stitchery used a “grunge” print fabric that complements the quilt top beautifully.
- Thread Choice: She chose Glide Threads in the color “Anchor” for a cohesive look that enhances the quilt design.
- Quilting: Quilt as desired. You can use straight-line quilting, free-motion quilting, or a longarm machine to bring your quilt to life!
Final Thoughts
The Shipping Links quilt is an ideal project for quilters looking to create a stunning throw or twin-size quilt with a modern twist. By using 10-inch squares and a clever block rotation, this pattern creates a unique interlocking design that’s visually appealing and fun to make.
Ready to try it out? Watch the full video tutorial from Moonkin Stitchery below and get started on your own Shipping Links quilt!
This blog post is inspired by Moonkin Stitchery’s (@MoonkinStitchery) YouTube video tutorial.