


Why Scrap Busting is a Game-Changer
Scrap busting is the key to keeping your sewing space organized and turning those forgotten pieces into beautiful projects. Mary’s method is all about dedicating just 10-15 minutes a day to tackle your scraps, so you can transform a messy pile into neatly categorized, usable pieces. Let’s dive into her process!
The 3-Step Scrap Busting Process
1. Collect & Sort Your Scraps
- Mary suggests starting with a designated bin for collecting your scraps. Keep it by your sewing machine for easy access. When it’s full, it’s time to sort!
- Pro Tip: Avoid large containers, as they can be overwhelming. Stick to a 15-quart or smaller bin.
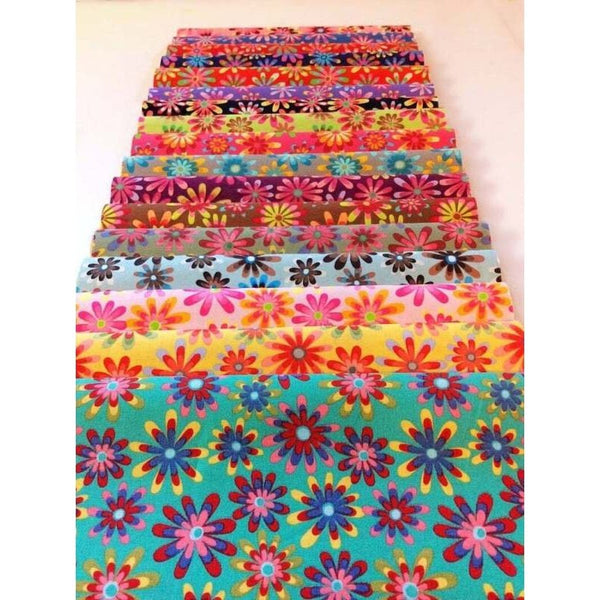
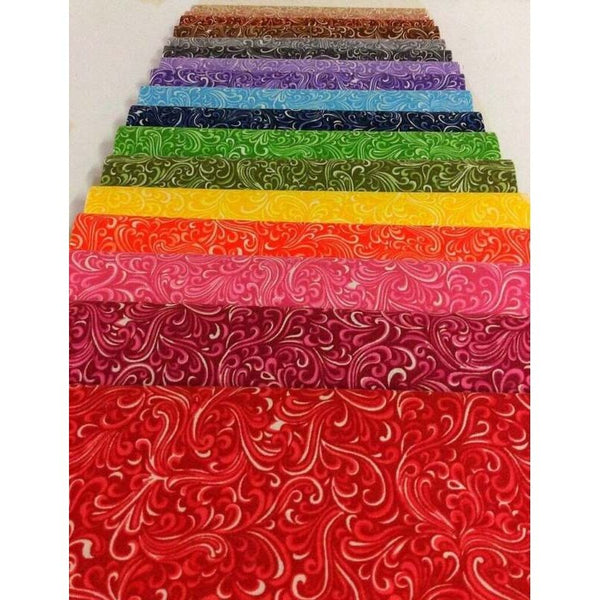
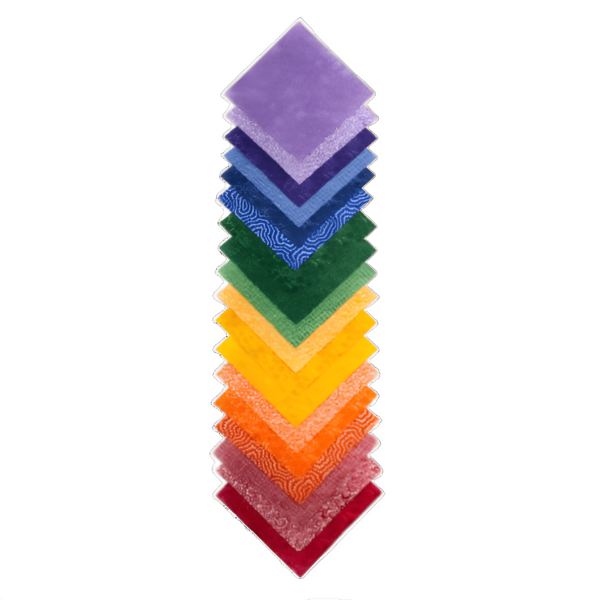
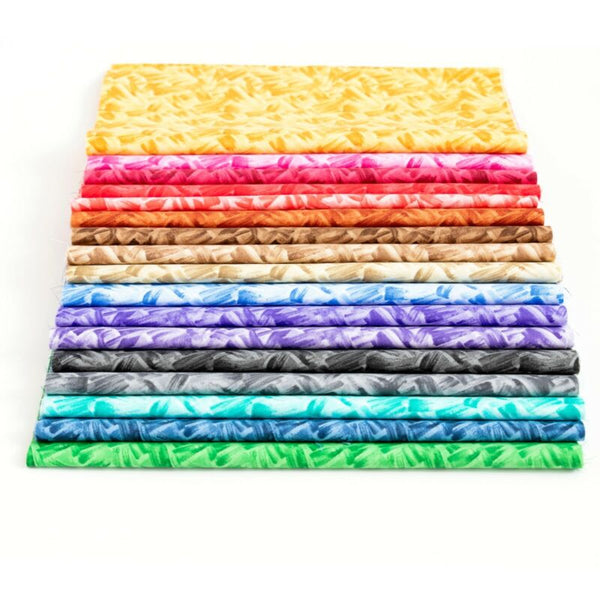
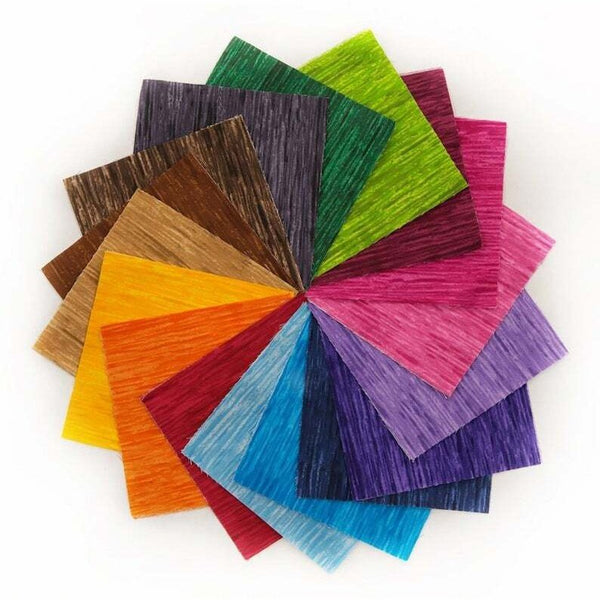
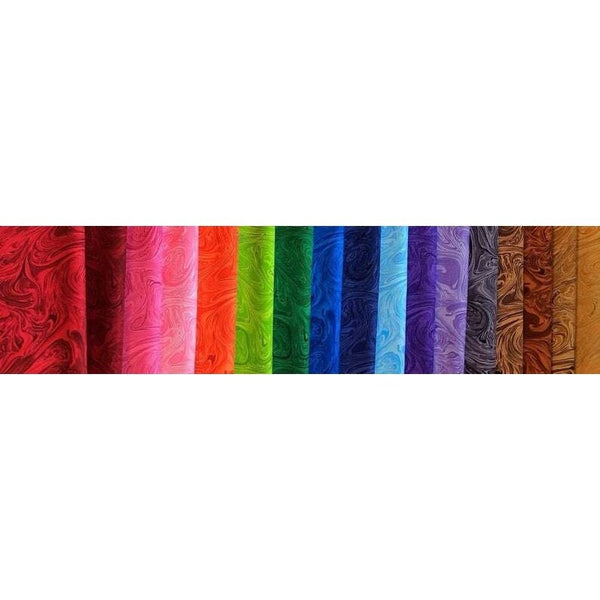
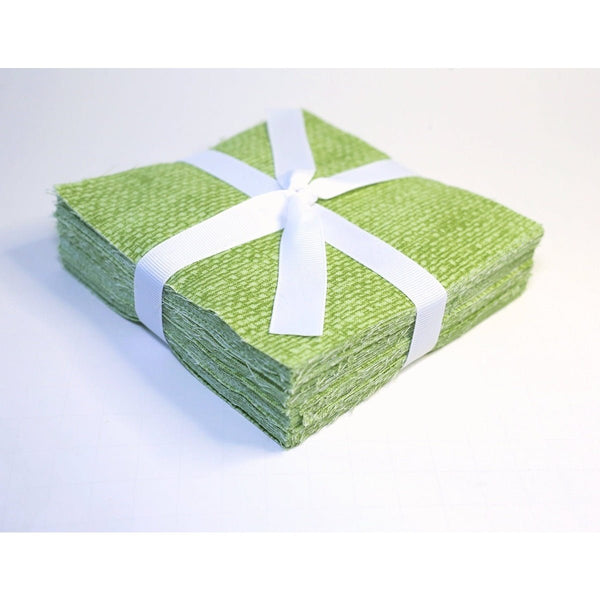
- Sort your scraps by color or light vs. dark fabrics. This simple organization step will save you a lot of time down the road.
2. Cut into Usable Sizes
- Once sorted, it’s time to cut your scraps into standard sizes:
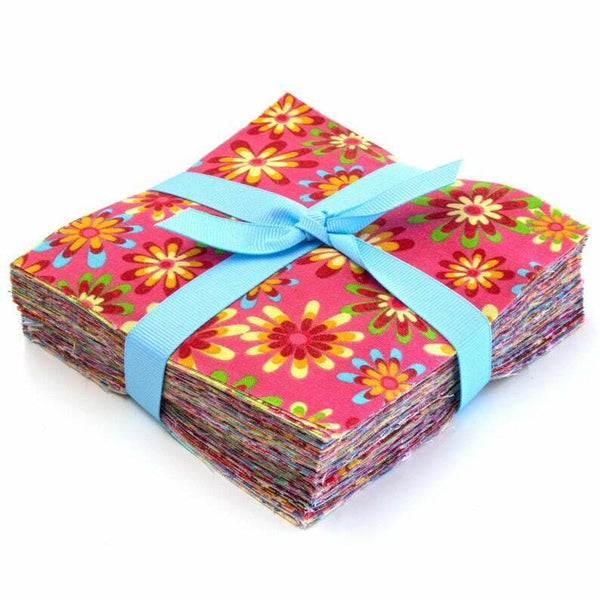
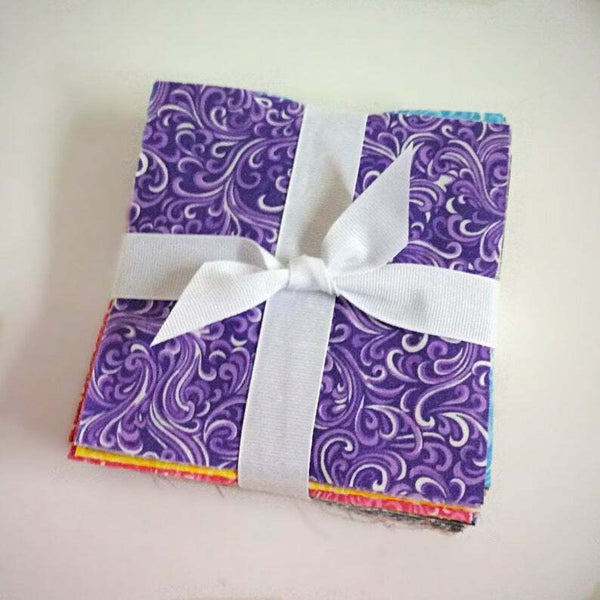
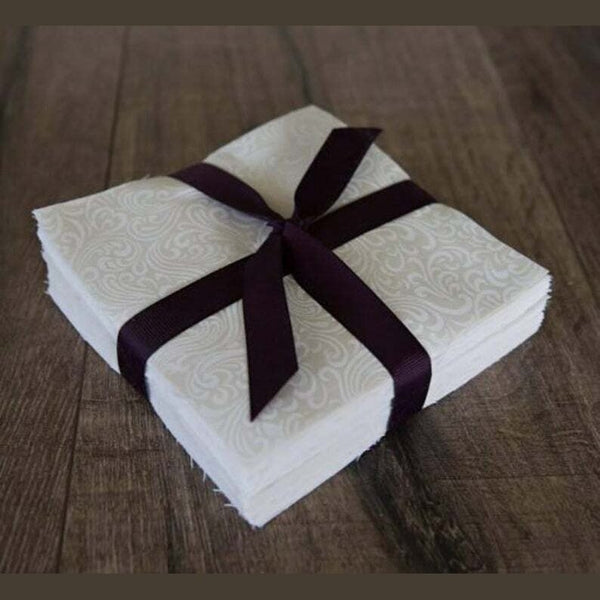
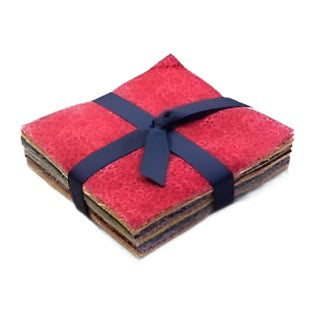
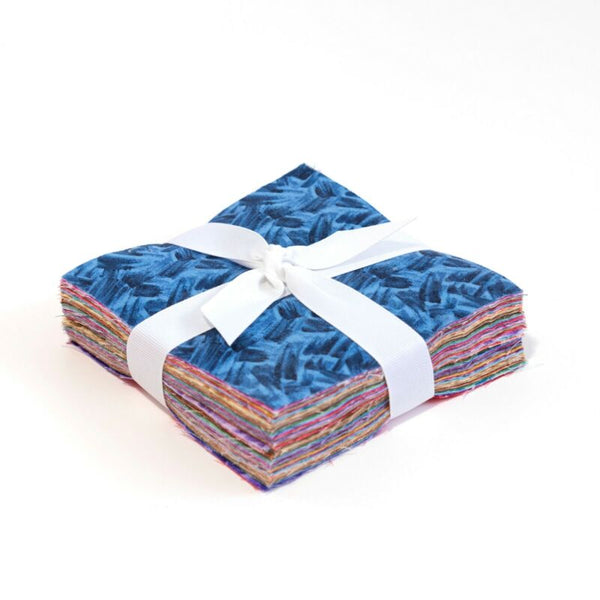
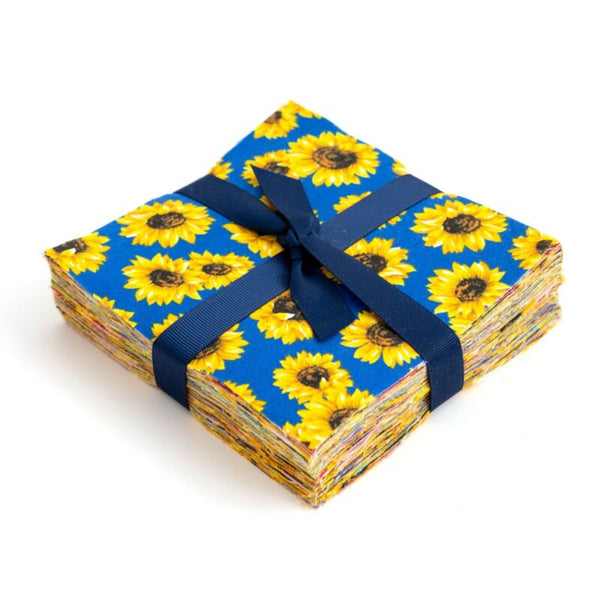
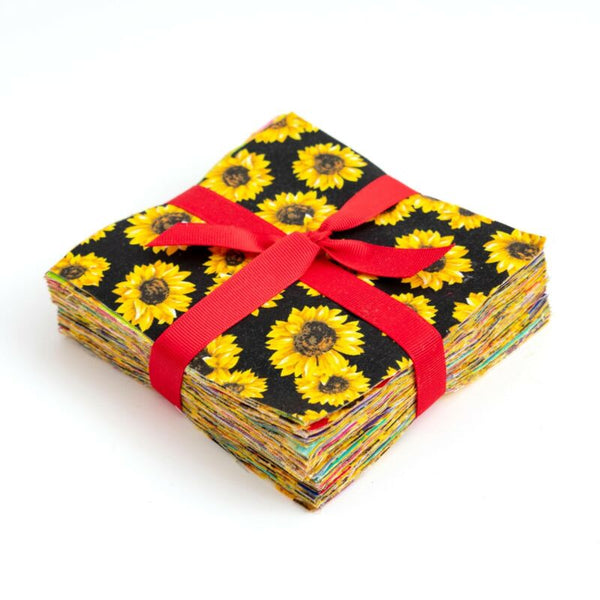
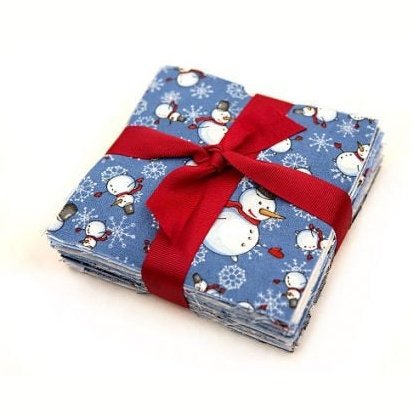
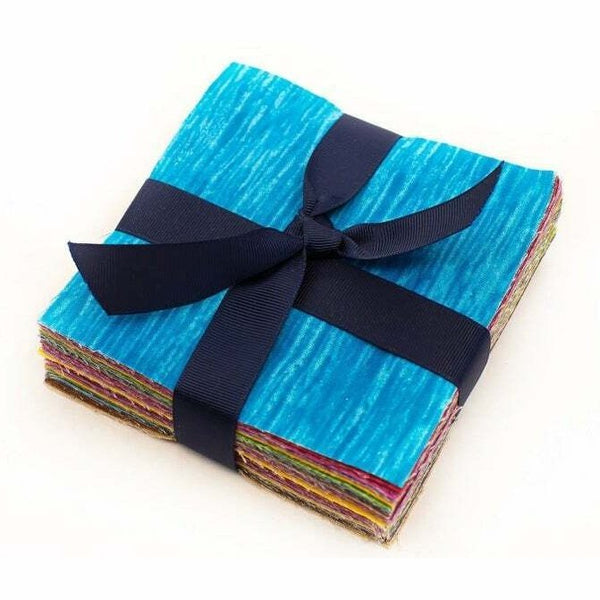
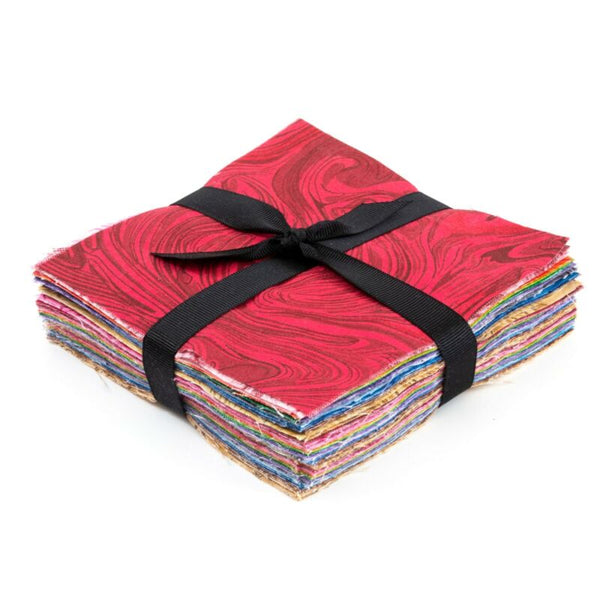
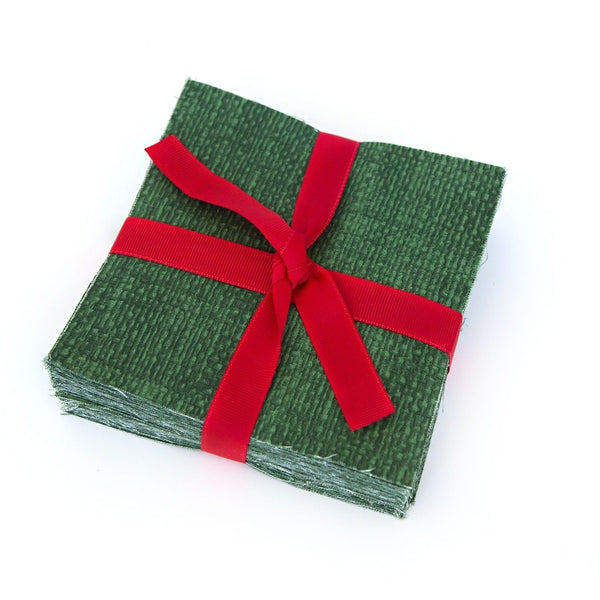
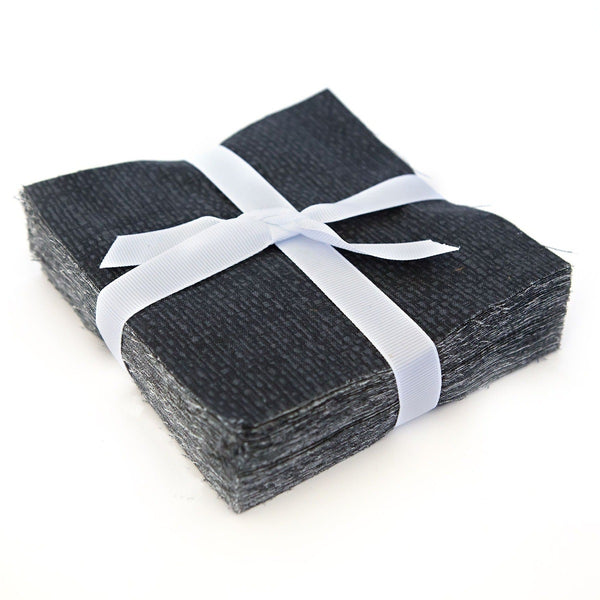
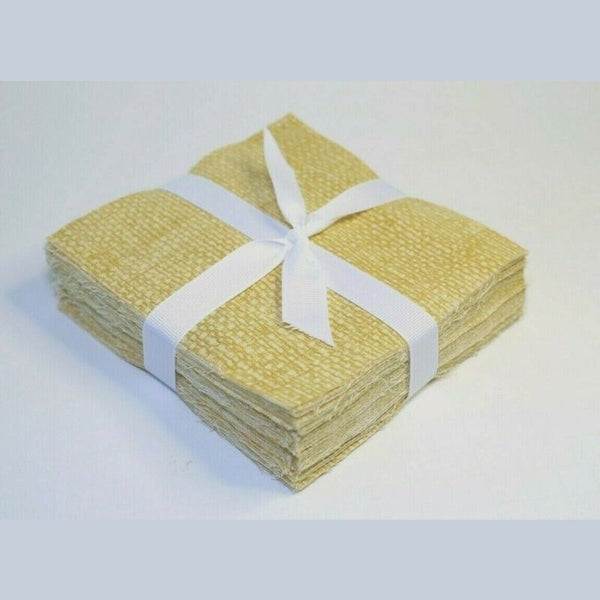
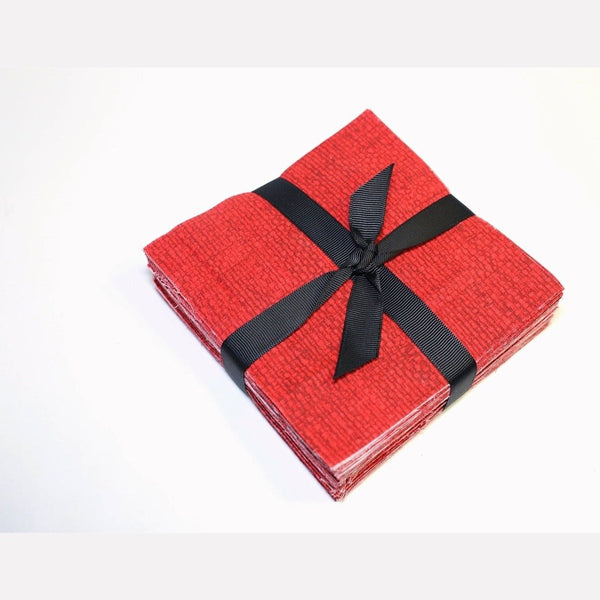
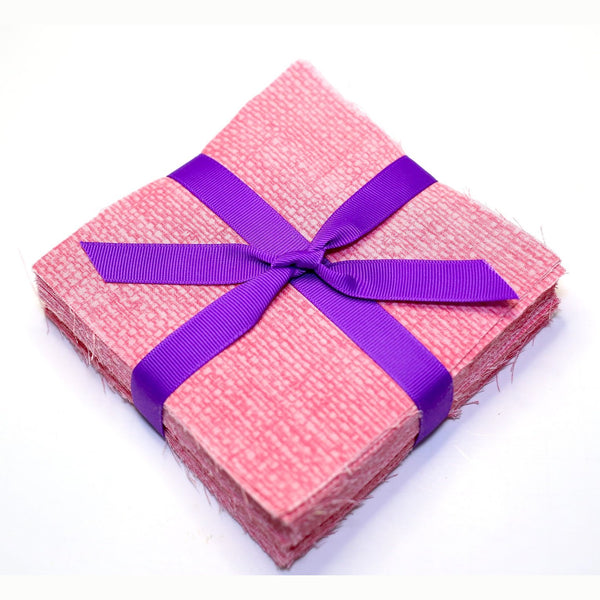
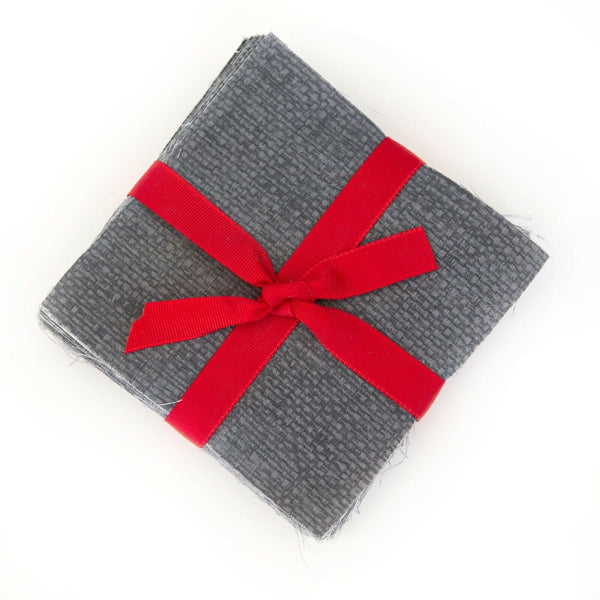
- Large Pieces: Half-yard, quarter-yard, and fat quarters.
- Pre-Cuts: Mini charms (2.5"), charm squares (5"), layer cakes (10"), and jelly roll strips (2.5").
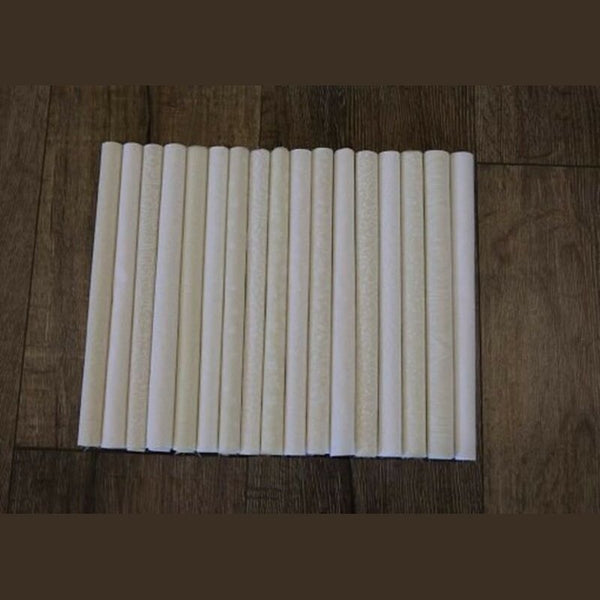
- Strips: 1.5", 1.75", 2", and 2.5" widths—any length.
- Crumbs: Small pieces at least 1.5" in width. Keep these flat for easier stacking and storage.
- Mary recommends having labeled bins or bags for each type of cut. This way, when it’s time to sew, you’ll know exactly where to find the right piece.
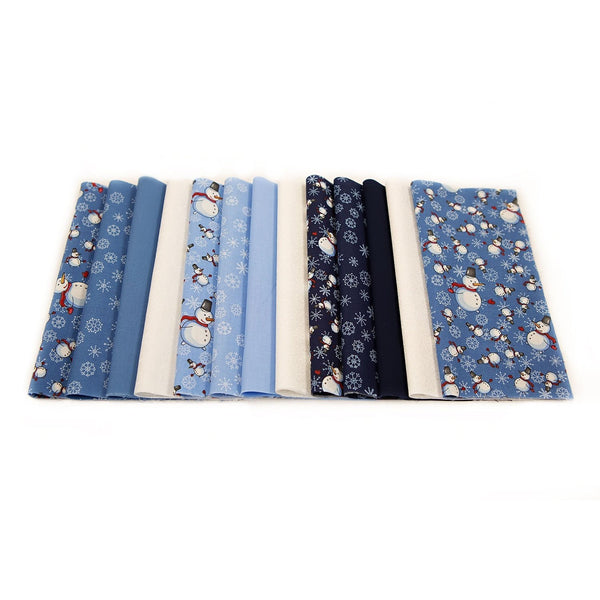
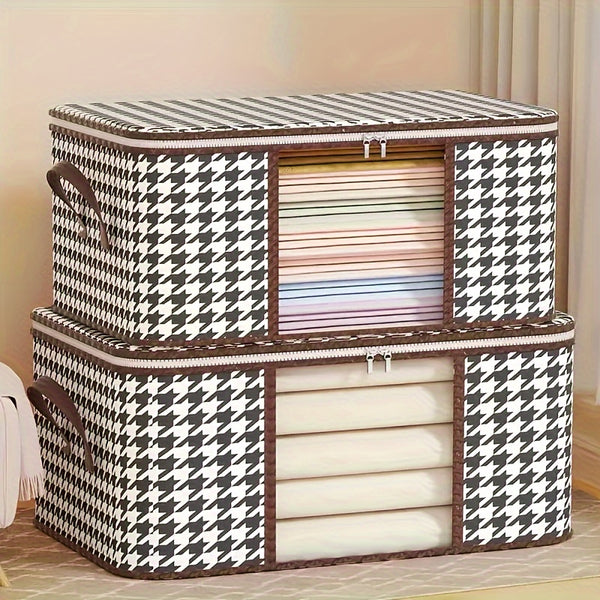
Store & Use
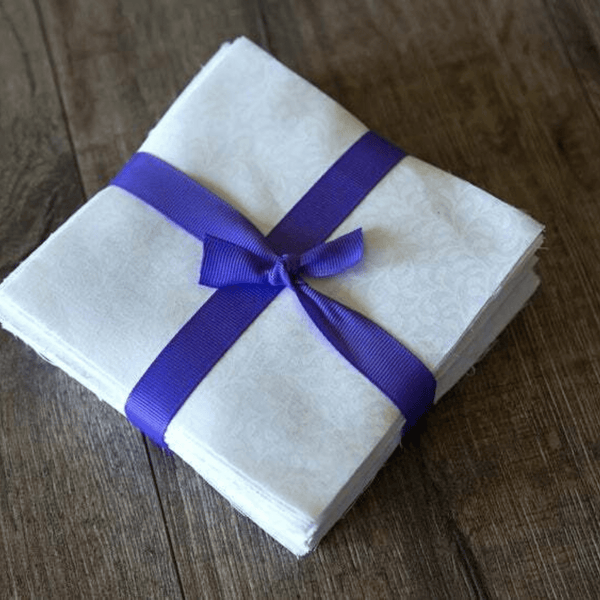
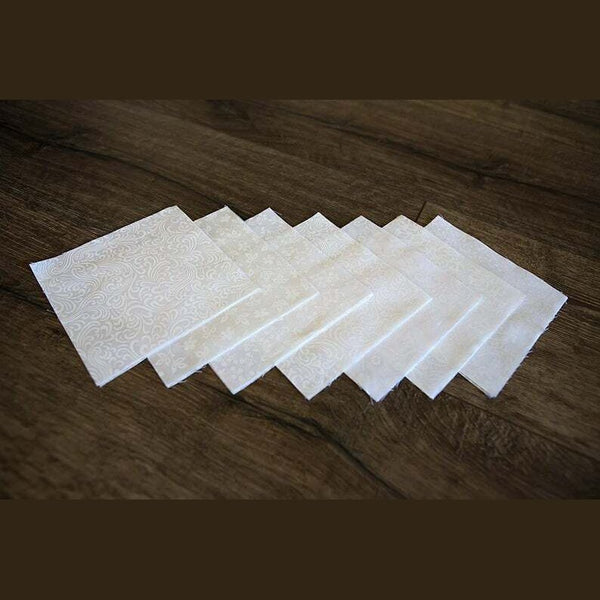
- Once your scraps are cut and organized, store them by size, color, or type. Mary uses labeled bins and drawers to keep everything neat and accessible.
- Keep an eye on those bins—if you haven’t used pieces in a few years, consider donating them to a charity or gifting them to a fellow quilter. After all, fabric should be cherished, not forgotten!
What’s Next? Get Creative with Your Scraps!
Once your scraps are organized, the creative possibilities are endless! Use them for patchwork quilts, table runners, pot holders, or even start a new quilt entirely from scraps. Mary’s method ensures that you have a stash ready to go, so you can jump into new projects without starting from scratch.
Want to see Mary’s scrap-busting method in action? Check out the video below and get inspired to tackle your fabric mountain one piece at a time!
---
This blog post is based on a video tutorial by Mary B (@joyfulandmerryquilting). Watch her video for a detailed step-by-step guide and more tips on keeping your ewing space neat and organized.
Get Your Free PDF on Scrapbusting on Mary's website here: https://www.joyfulandmerryquilting.com/scraps