


Rag quilts are a favorite among quilters, offering a cozy, textured finish that’s hard to resist. But for many, the traditional rag quilting process can be time-consuming and a bit challenging. That’s where Lea Louise from Inspired Quilting by Lea Louise comes in! In her latest tutorial, she shares her secrets for making rag quilts faster, easier, and more enjoyable. If you’ve ever been intimidated by rag quilting, this is the post for you!
Why Try Lea Louise’s Rag Quilt Method?
Lea introduces several innovative techniques that make the process of creating a rag quilt simpler and less labor-intensive. Whether you're a seasoned quilter looking to save time or a beginner tackling your first rag quilt, these strategies will help you create beautiful quilts with less hassle.
Key Tips and Techniques from Lea’s Video
1. Using Offset Seams for a Smoother Finish
Traditional rag quilting often involves bulky seams where multiple layers of fabric join, making it difficult to sew through and causing needle breakage. Lea’s method of using offset seams prevents bulky intersections, making your quilt smoother and easier to handle.
2. Piecing Together Scraps for a Cohesive Look
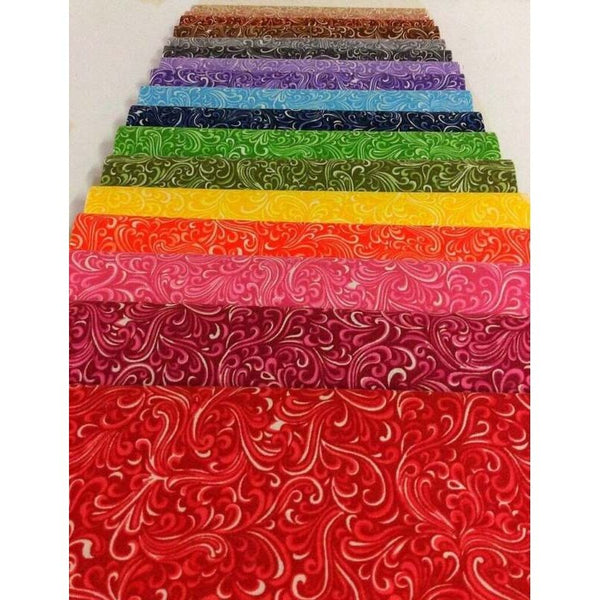
Short on fabric? No problem! Lea shows how to piece smaller fabric strips together to create larger blocks. This technique helps avoid unnecessary trips to the fabric store and lets you use up scraps you already have—perfect for sustainable quilting!
3. Layering and Cutting for Speed and Precision
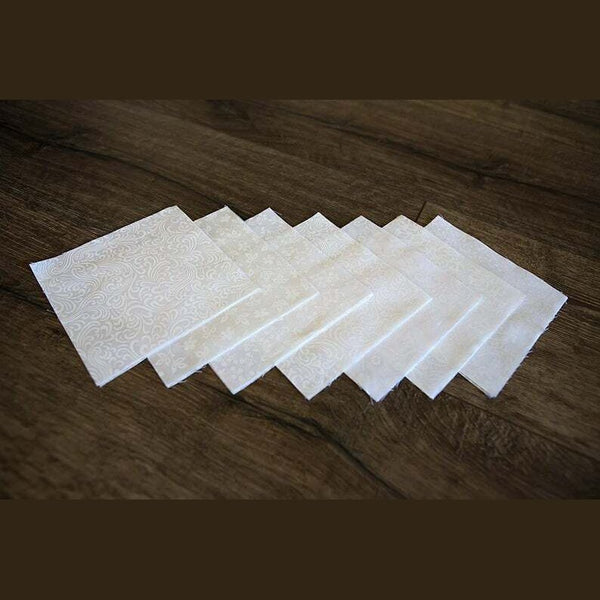
Lea’s technique of cutting and layering fabric sets everything up for quick, accurate sewing. By pre-cutting 10-inch squares and stacking them in order, you’ll save time during assembly and achieve a more polished look.
The Process: Step-by-Step Guide
1. Cut and Prepare Fabric:
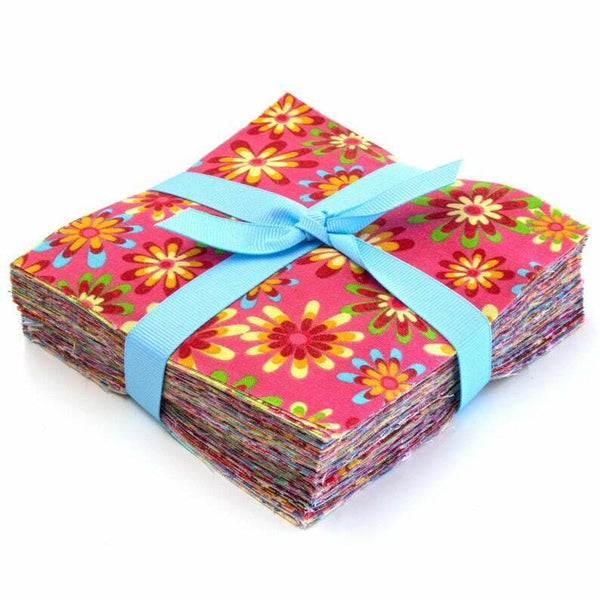
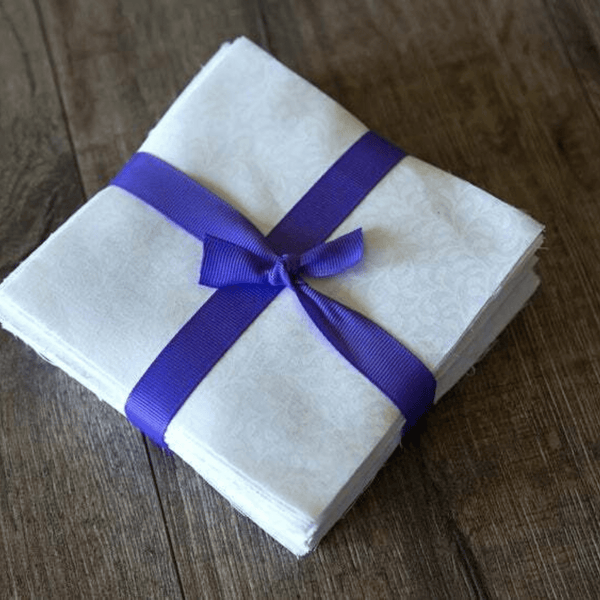
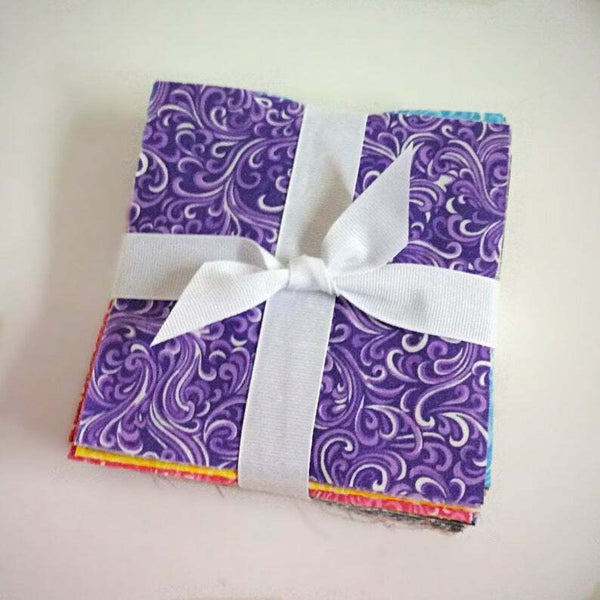
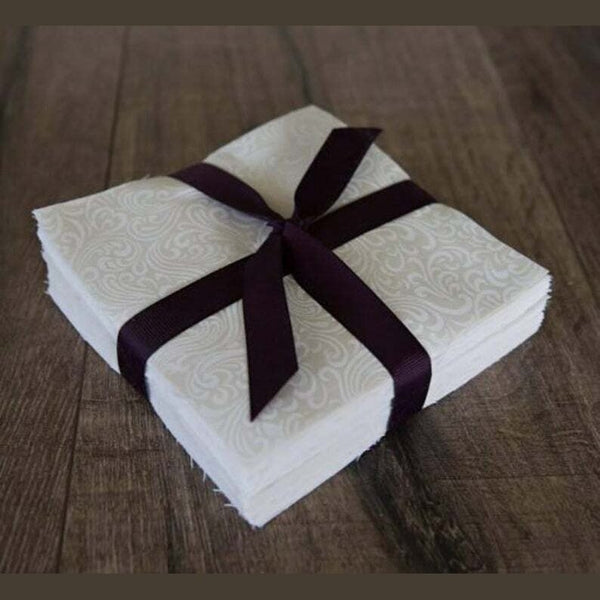
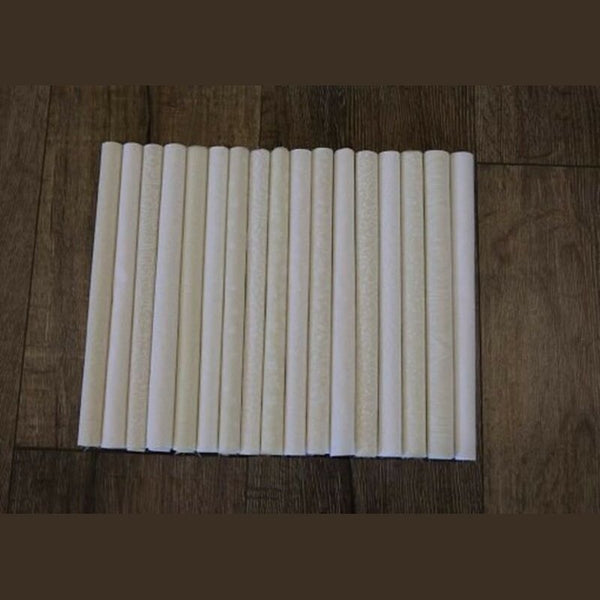
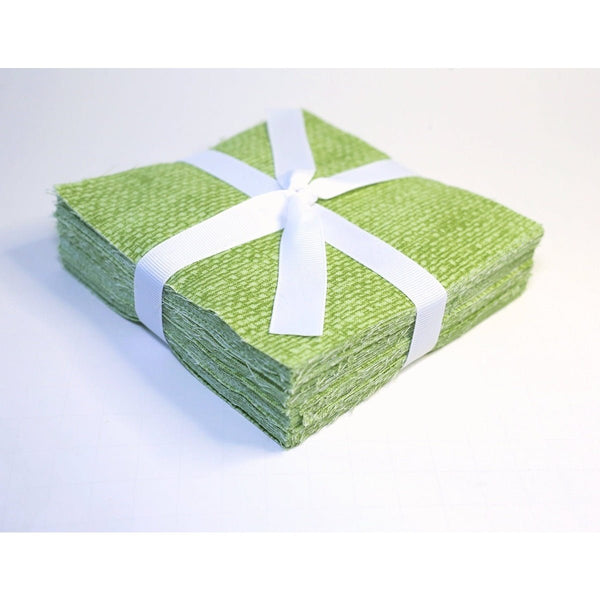
Start by cutting your backing, middle layer, and top fabric into 10-inch strips by the width of the fabric.
Stack your fabrics: Place the backing fabric face down, the flannel layer in the middle, and the top fabric face up.
2. Sew and Assemble Blocks:
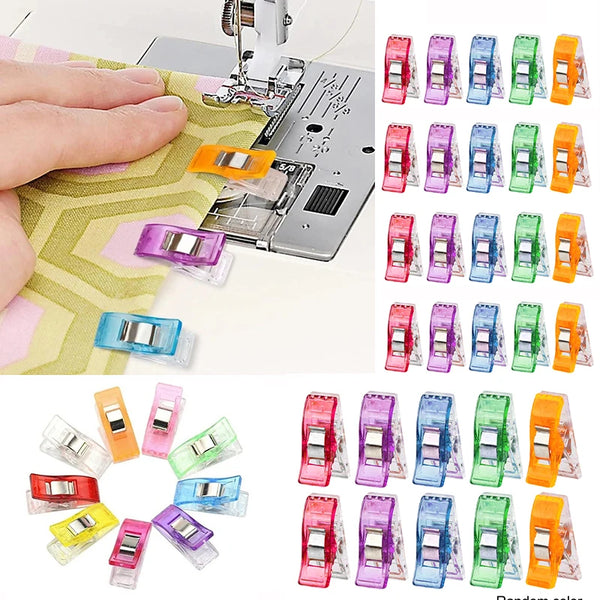
Sew an ‘X’ across each block to hold all the layers together. This prevents fabric from shifting and ensures a neat finish.
Use a walking foot for sewing. This helps manage the bulk of multiple fabric layers and prevents bunching.
3. Offset Seams with Half Blocks:
To prevent bulky seams, insert half blocks and rectangles at the ends of alternating rows. This staggers the seams, making sewing smoother and reducing fabric bunching.
4. Clipping and Finishing:
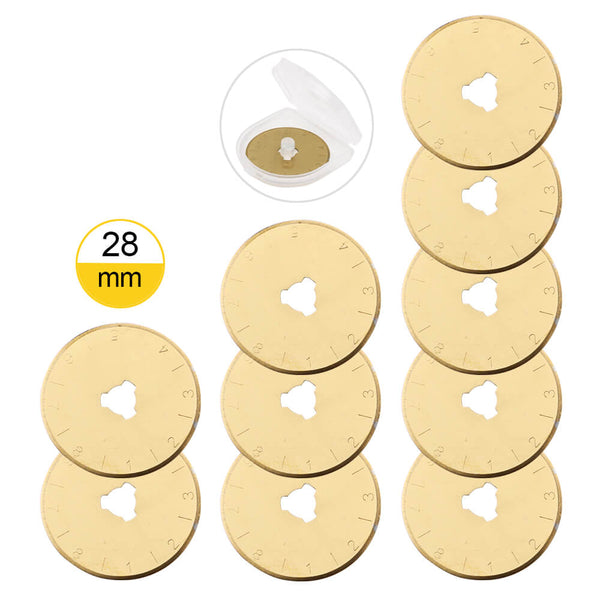
Clip along the seams and outer edges to create the signature ragged effect. Spring-loaded snippers or dressmaker shears with a spring handle make the process quicker and easier on your hands.
5. Washing for the Final Look:
Wash and dry your quilt to fluff up the frayed edges. The result is a cozy, textured finish that’s soft to the touch and visually striking!
Why You’ll Love This Quilt
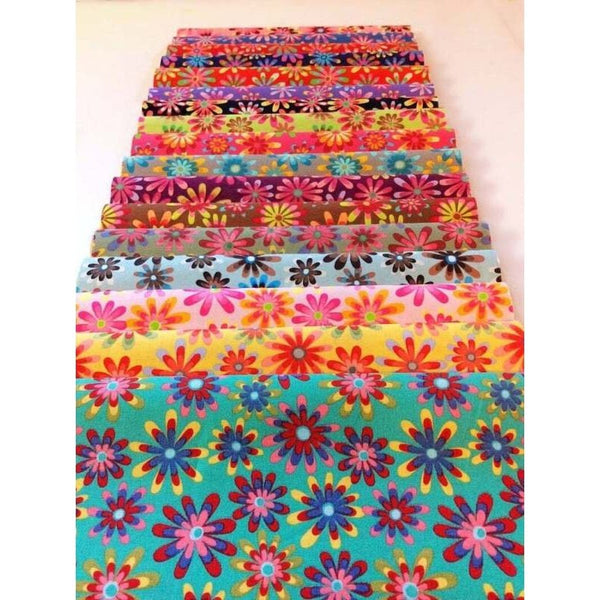
Lea’s rag quilt method is incredibly versatile. Once you get the hang of it, you’ll be able to adapt it for different fabric combinations, colors, and sizes. The process is quick and efficient, making it easy to whip up quilts for any season or occasion. Plus, her approach to piecing smaller fabric scraps means you can get the most out of your fabric stash—no waste!
Ready to Give It a Try?
Whether you’re making a gift or adding to your own collection, this rag quilt is sure to become a favorite project. Watch Lea Louise’s full video tutorial below to see each step in action and discover all the insider tips she shares along the way.
---
This blog post is inspired by a video tutorial from Lea Louise (@InspiredQuiltingbyLeaLouise). We highly encourage you to watch her video for more detailed instructions and a closer look at the process. The video is embedded below for your convenience.