
The humble 9-patch block might be one of the most recognizable and beloved patterns in quilting history. Dating back to early American quilting traditions, this simple arrangement of nine squares has stood the test of time for good reason - it's accessible to beginners yet offers endless creative possibilities for experienced quilters.
In early American pioneer homes, the 9-patch was often one of the first patterns taught to young girls learning to sew. Its straightforward design made it perfect for using up small fabric scraps and creating warm, functional quilts efficiently. Today, we continue to appreciate this classic block for the same reasons our quilting ancestors did - simplicity, versatility, and charm.
Sewing Instructions:
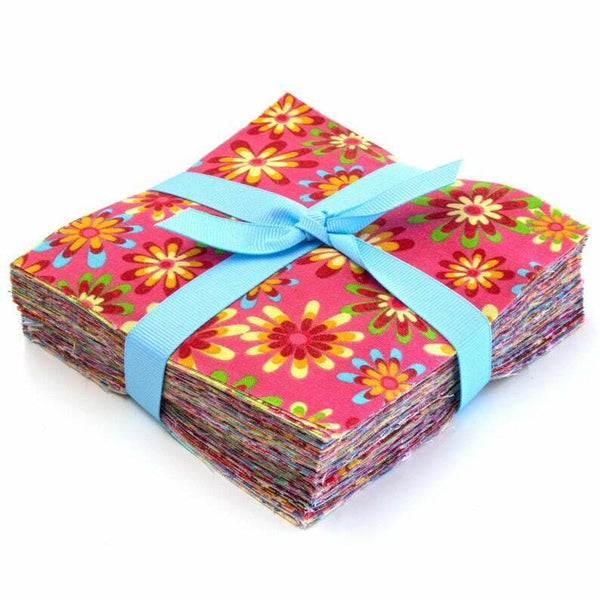
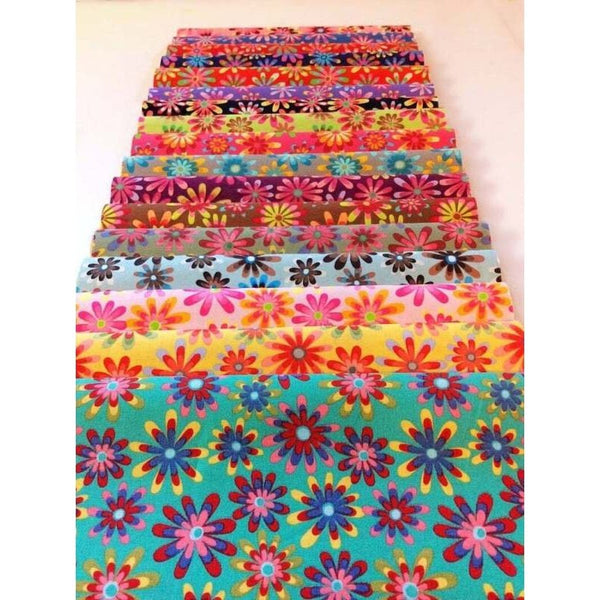
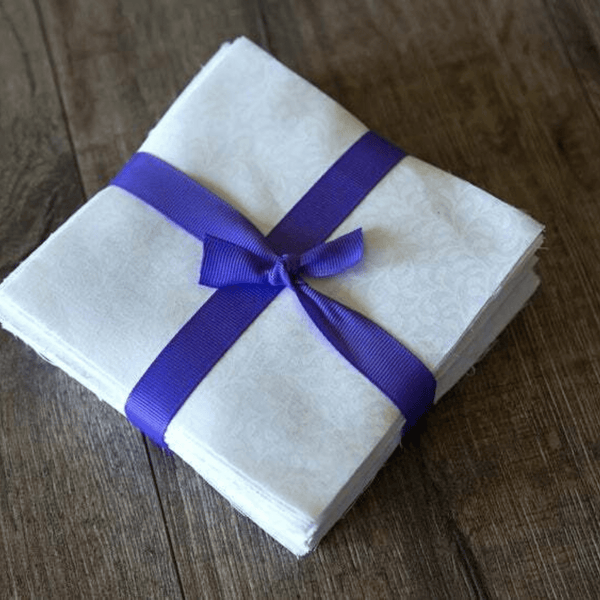
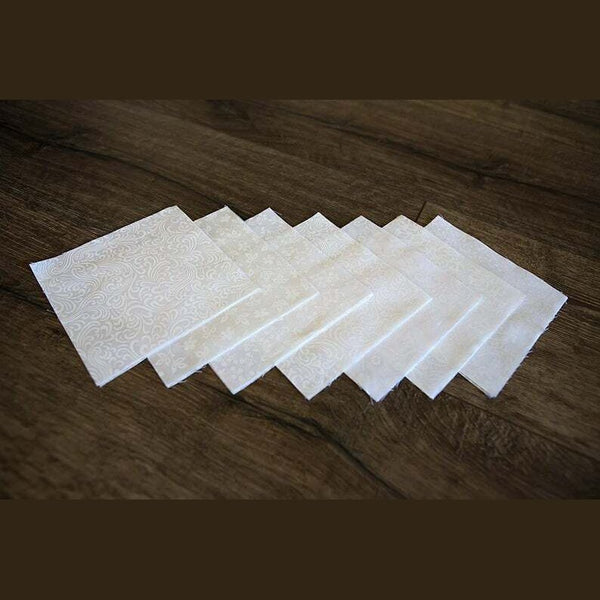
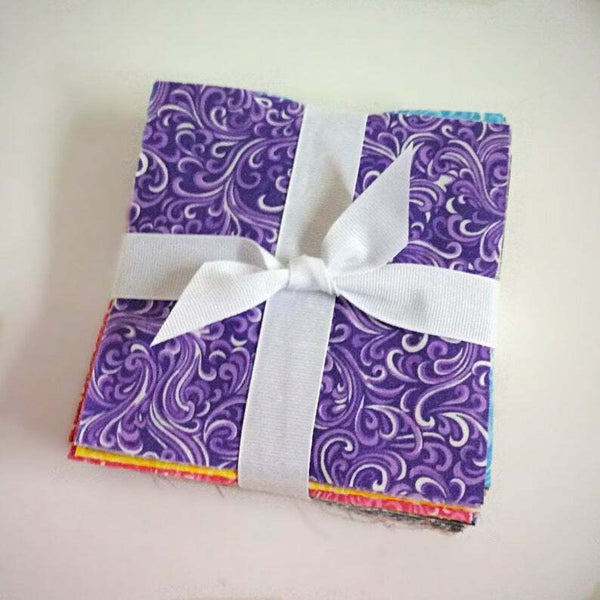
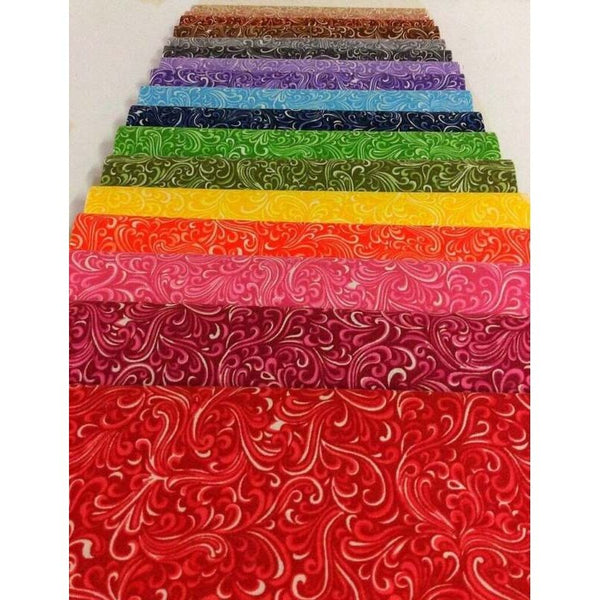
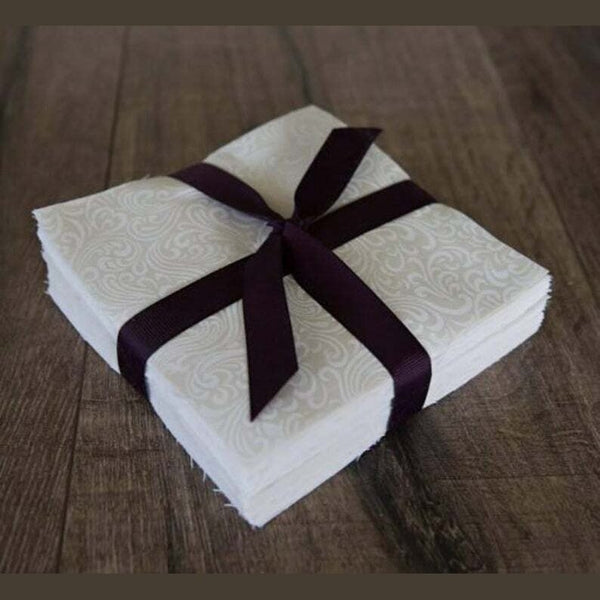
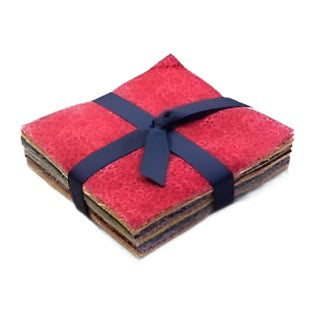
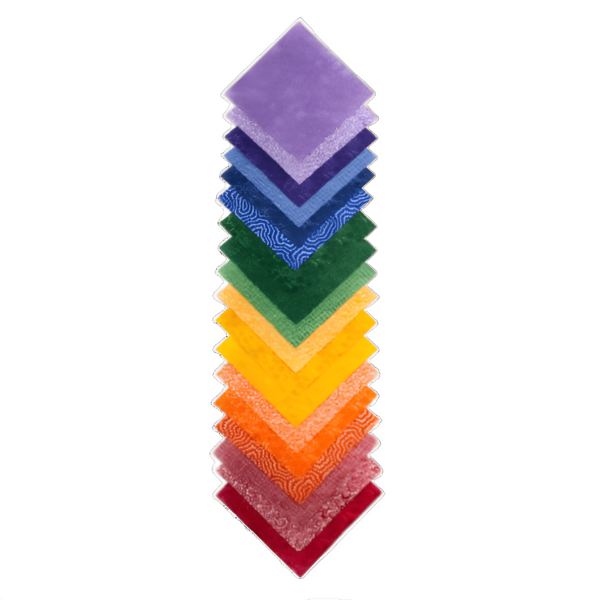
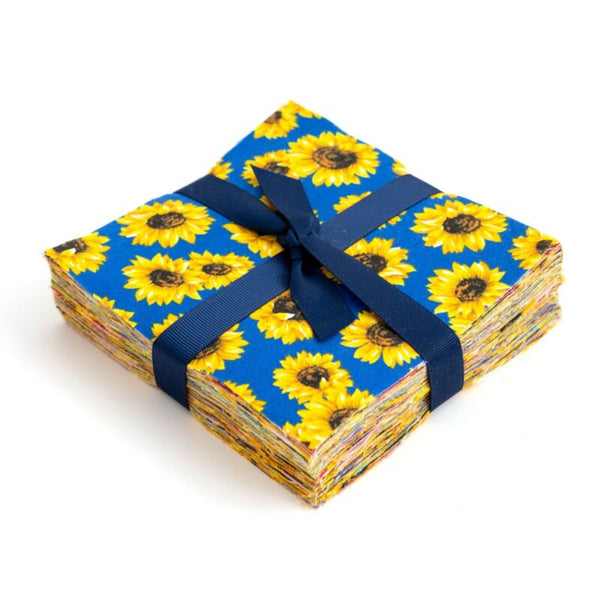
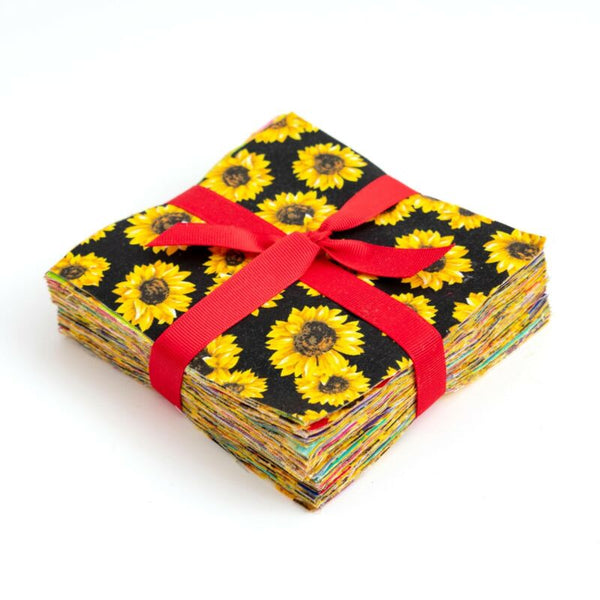
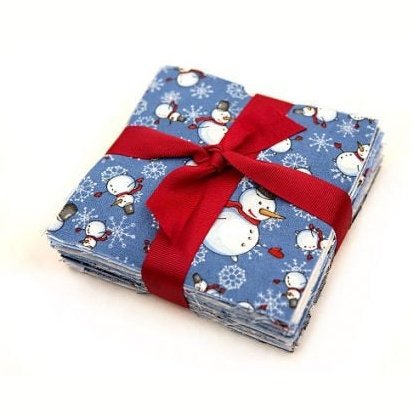
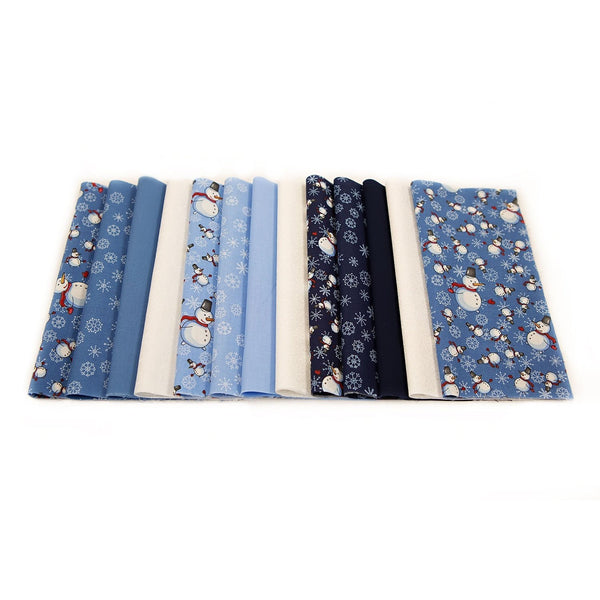
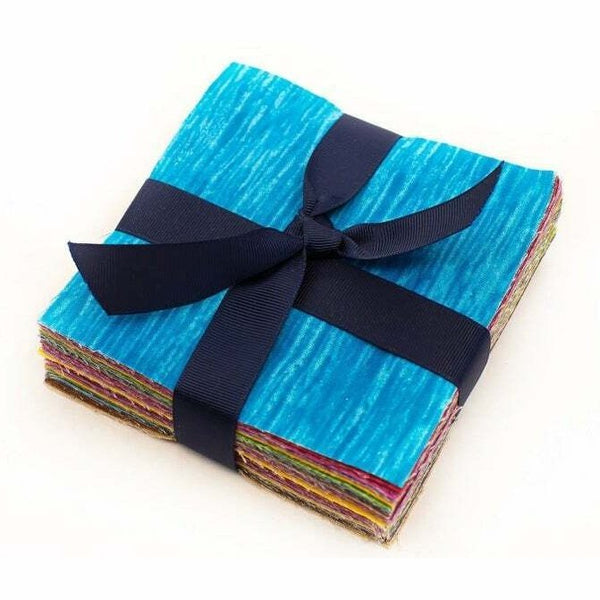
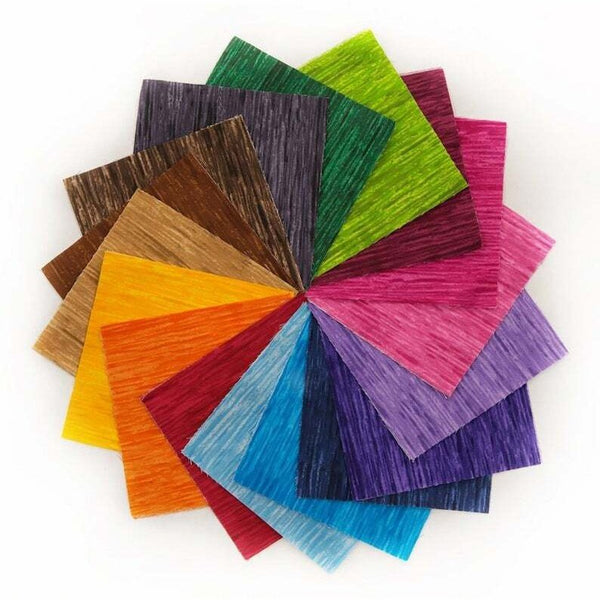
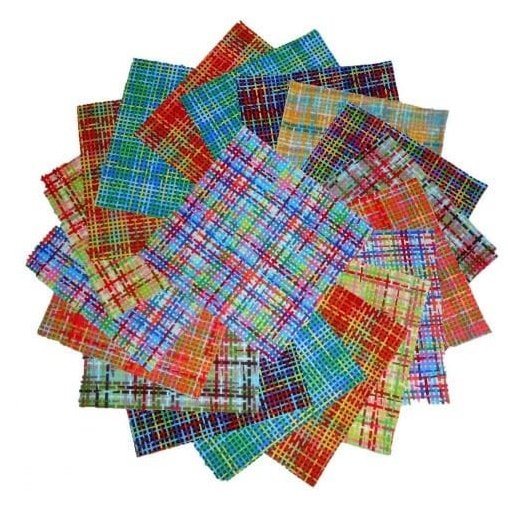
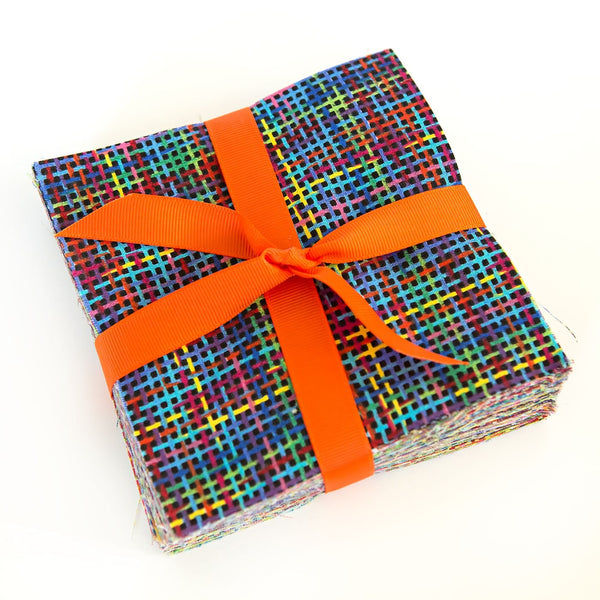
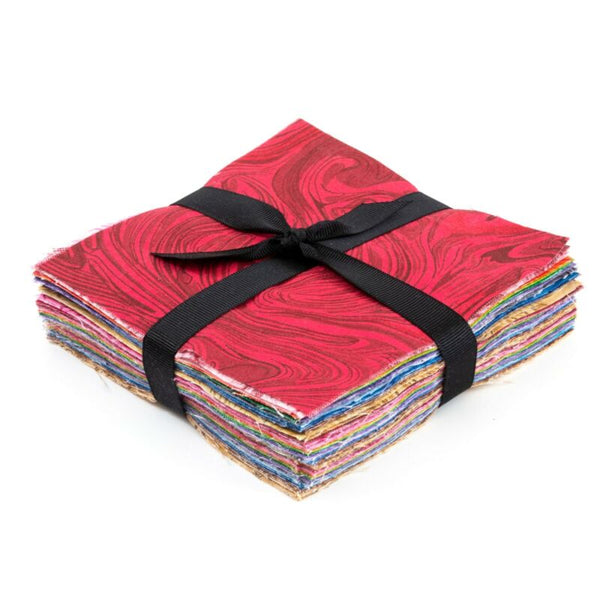
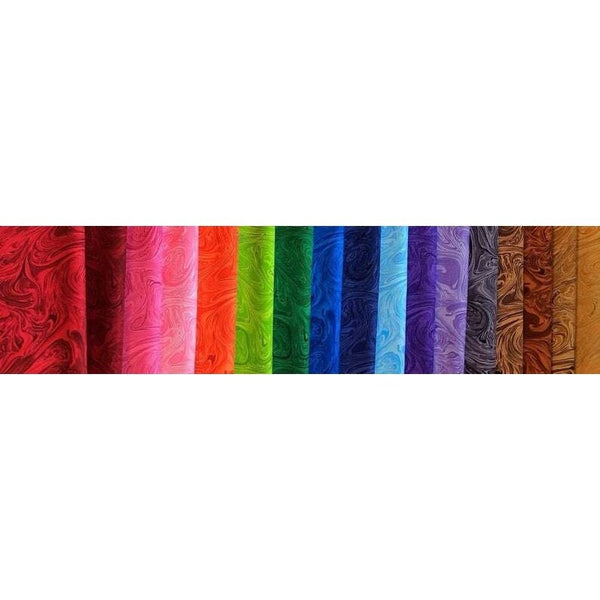
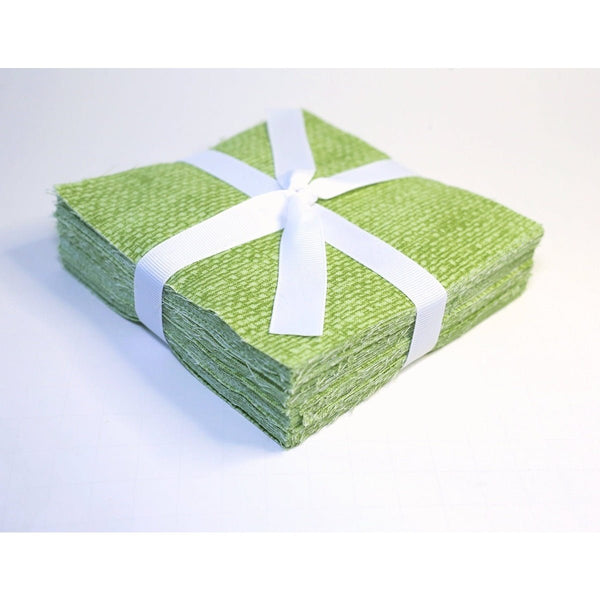
You can start with any size block. You will need 5 squares of one color and 4 squares of another color. My initial block used all the same size patches. I used 5 from the Fizzy Pop Charm pack and 4 from the White Charm pack.
Step 1: Begin by laying out your Charms. I find it easiest to lay them out as I need the visual to keep everything in the correct order. It is not as important on a simple block, but I make it a practice so that I am ready for more challenging blocks.

Step 2: We are going to 'Web' these pieces together:
- Take the Top middle piece and flip it right side together on the left corner square.
- Sew but do not cut the thread at the bottom!
- Flip the Center square right sides together (RST) on the left piece. Sew, again, do not cut the thread.
- Repeat with the final piece and bottom left corner.
- Remove from your sewing machine but do not cut apart.

Step 3: Place your first two rows back on your design area and open them up.
- Begin at the top and add the final column of pieces.
- Flip the top right square RST on the top row, sew, and do not cut.
- Repeat for the remainder of the blocks in that column.

Now you have the entire block "webbed" together, and there will be no chance of turning anything in the wrong direction.
Look at the block and decide how to press your seams. This block is perfect for pressing to the dark side, so I did that.
Now you can sew your rows together, nesting the seams. Press again, and you are done!

Variations
In the video, I made a second block showing how easy it is to modify your sizes. By cutting the White charms in half, and one of the Fizzy Pop charm in quarters, while leaving the center block whole, you change the look and size of your block.

I also showed you how to make a Disappearing 9-Patch with your original block! Experiment with your pieces and have fun!