What is the Quilt-As-You-Go Technique?
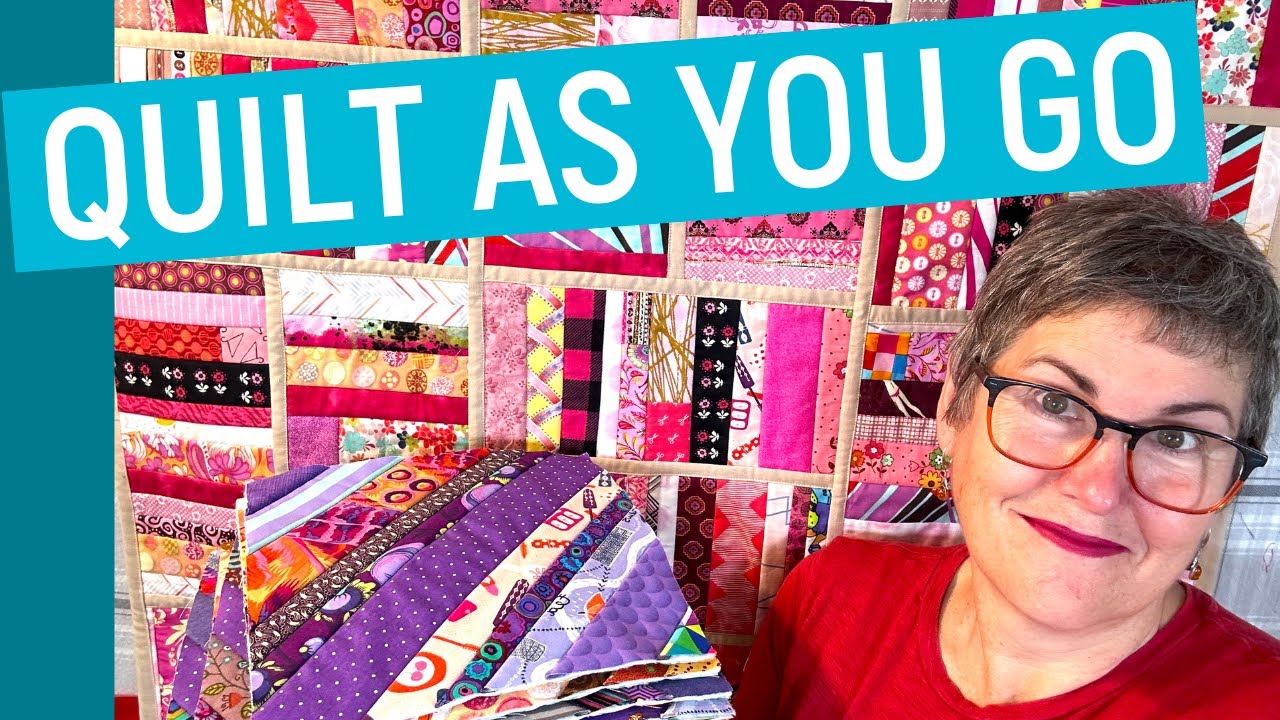
Quilt-As-You-Go (QAYG) is a versatile method that allows you to quilt each block individually, making the assembly of your final quilt much easier. Sometimes referred to as the “potholder method” or “portable method,” this technique is perfect for those who are working with a standard sewing machine. By quilting each block separately, you avoid having to wrestle with the bulk of a full quilt under the sewing machine—say goodbye to those shoulder and neck aches!
Getting Started: Essential Supplies and Tips
Karen shares a wealth of tips and tricks throughout the video, ensuring that even beginners can confidently start their QAYG journey. She suggests selecting a block size that can comfortably fit under your sewing machine and emphasizes the importance of having a ruler in the same size. Here are a few of her top tips for getting started:
- Choose a Block Size: Consider a size that fits easily under the harp of your machine. Karen recommends using either a 9.5-inch or a 6 x 12-inch ruler.
- Backings and Batting: Make your backing and batting pieces a half inch to one inch larger than your finished block size. This gives you some wiggle room and helps keep everything neat and tidy.
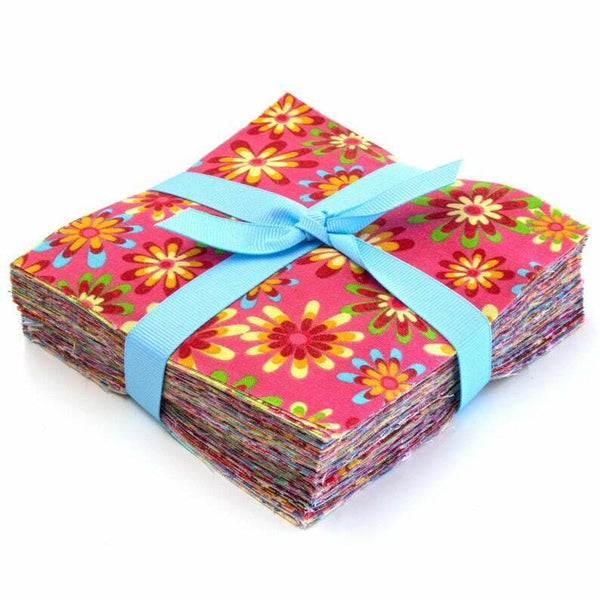
- Organizing Scraps: Karen highlights her method of sorting scraps, keeping strips less than 2.5 inches wide for use in QAYG blocks and organizing batting squares by type. This allows for easy access to materials when you’re ready to start quilting.
Block Construction: Building One Strip at a Time
The construction of QAYG blocks is simple yet effective. Karen demonstrates the process using fabric strips, showing how each seam not only stitches the strips together but also quilts all the layers at the same time. She explores four main block styles: square and rectangular blocks, both in parallel and diagonal layouts. Whether you prefer perfectly aligned strips or a more “wonky” look, there’s plenty of flexibility to make each quilt truly unique.
One of the standout features of this technique is its adaptability to color and pattern variations. Experiment with different combinations like rainbows, high and low values, or simply play around with your favorite fabrics. Karen emphasizes that you can create endless design options by varying color placement and fabric choices within each block.
Assembling the Quilt
Karen explains how to join your QAYG blocks together using fabric strips to create a seamless appearance. This method, sometimes referred to as a “stained glass” effect, adds a professional touch to your finished quilt. Using 1-inch strips for every seam, you can opt for a striking contrast with black or keep things subtle with a color that blends in.
One of the great benefits of the QAYG technique is that you can easily add rows as needed. So, if your quilt needs to be a little larger, simply add more blocks—no need to start over!
Bonus Tips and Layout Options
Stay tuned until the end of the video to see Karen’s bonus layout options. She shows how the orientation of your blocks can dramatically change the look of your quilt. For example, using her 6 x 12 blocks, she demonstrates how turning one block 90 degrees can add a whole new dimension to your design. And if you’re feeling adventurous, use half-square triangles in the corners for an extra pop of interest.
Explore More with Karen Brown of Just Get It Done Quilts
If you’re interested in trying the Quilt-As-You-Go technique, this tutorial is an excellent place to start. Karen’s detailed instructions, combined with her practical advice on scrap organization and block construction, make it easy to dive into this creative method. Whether you’re a beginner or a seasoned quilter looking for a new approach, you’ll find plenty of inspiration and valuable information in this video.
For more quilting tips, tutorials, and strategies, be sure to check out Karen’s other videos on her YouTube channel, Just Get It Done Quilts (@JustGetItDoneQuilts). And if you want to stay up to date with all her latest content, don’t forget to hit that subscribe button!
So, grab your scraps and sewing machine, and start experimenting with the Quilt-As-You-Go technique today. Happy quilting!
